
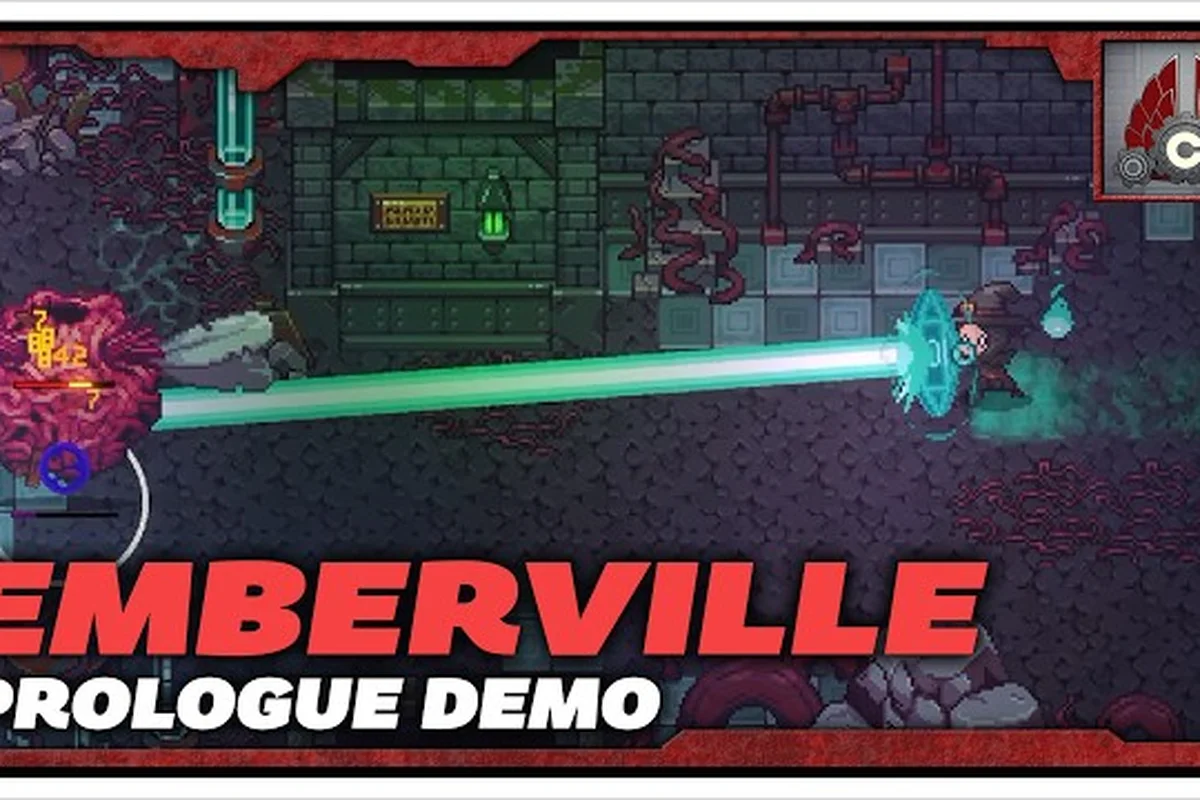
Leveling up fast in Emberville comes down to route planning, class juggling, and avoiding the early-game waste that eats XP for no return. This Emberville progression guide breaks down how the Vitromotus dungeon actually feeds experience into your build, which class orders produce the strongest first 20 hours, and where most new players bleed hours without realizing it. Whether you dropped into the demo or you are counting down to the October 27 Early Access launch, the systems below carry over directly, so the time you invest now pays off the moment the full game opens.
According to the Cygnus Cross, the game builds its progression around unlocking and upgrading an expanding roster of ember-infused creatures through a structured tier-and-resource system.
Understanding the Emberville Progression Loop
Emberville runs on a tightly wound loop: dive into the Vitromotus, fight, loot, extract, return to your estate, and reinvest whatever you hauled back. The dungeon is procedurally generated and explicitly described as "ever-changing" on the official publisher page, so no two runs hand you the same room layout. What stays constant is the rhythm — every expedition pushes three independent XP bars (active combat class, passive secondary class, and crafting skill) and every extraction feeds gold, materials, and rescued NPCs back to your town. According to the official Terminals game page, that loop is the entire spine of progression: build the estate, gear up, push deeper, repeat.
What Actually Generates XP
The single biggest Emberville beginner mistake is assuming that killing more mobs = more XP. The two-button combat system plus weapon-bound combos means that kill speed matters far more than kill count. A short run that clears three elite rooms and loots two chests will out-level a long run that drags through fifteen trash packs. Reported by players on the demo build, elite-tier Vitromotus nodes grant roughly 3x the class XP of standard rooms, and chest XP scales with your current level, so under-leveled characters actually get bonus catch-up XP on the first three dungeon floors.
| XP Source | Relative Yield | Notes |
|---|---|---|
| Trash mob kill | 1x baseline | Diminishing returns after 8 kills per room |
| Elite room clear | ~3x baseline | Bonus XP if no damage taken |
| Chest / relic | 1.5x–2x | Scales down past level 15 |
| Boss kill | 5x–8x | One per dungeon floor, always a hard reset |
| Rescued NPC return | Crafting XP only | No combat class XP |
The Three XP Bars Explained
Emberville tracks progression on three independent XP bars that fill simultaneously rather than merging into a single account level: your Active Combat Class, your Secondary/Inherited Class, and your Crafting Skill all tick upward in real time during the same expedition session. This multi-axis design is intentional, because the game expects you to split your effort between combat power, inherited skill pool, and economic self-sufficiency through crafting. Underestimating any one of these three pillars is one of the most common Emberville beginner mistakes, since late-game recipes, inheritance unlocks, and skill tiers all gate behind their respective curves regardless of how high your other two bars climb.
-
Active Combat Class — your equipped class, gains XP from any kill made while it is slotted. This is the bar that gates new skills and combo unlocks.
-
Secondary / Inherited Class — according to the official news post on combo and skill inheritance, "learning skills from leveling multiple classes allows the player to tailor the active combat class for a unique playstyle." Your off-hand class passively earns XP at roughly 40% of the active rate.
-
Crafting Skill — pulled up by salvaging, smelting, and crafting at estate stations. Crafting has its own level curve and unlocks recipes, not combat skills, but it gates your late-game gear ceiling.
The trap new players fall into is treating the active class as the only one that matters. Because the secondary class feeds skills into your active loadout through the inheritance system, leveling a throwaway "donor" class early actually powers up your main. The official publisher page describes the Vitromotus as a place where "every expedition shapes the future of a thriving settlement" — the same is true for your class sheet, where every dead-end level still pays you back through inherited skills.
Emberville Leveling Guide: Class Order and Build Foundations
The fastest path through the first 20 hours of Emberville is not "play whatever looks cool." The two-button combat system rewards combo knowledge over raw stats, and the inheritance system rewards breadth over depth during the leveling phase. Community testing on the GCX demo build showed that players who rotated through three classes by level 10 finished the prologue dungeon roughly 40% faster than players who single-classed.
Recommended Class Order
The order below is optimized for unlocking the most inherited passives by hour 10, not for raw damage at hour 1. The trade-off is that your first two hours feel a little weaker, but you hit a sharp power spike around level 8 once everything starts compounding.
| Slot | First 2 Hours | Hour 2–6 | Hour 6–10 | Hour 10+ |
|---|---|---|---|---|
| Active Class | Sentinel (tanky opener) | Sentinel | Switch to unlocked class | Locked in main |
| Secondary Class | Sentinel (XP bank) | Level a fast class (Rogue or Mage) | Continue secondary | Secondary for passives only |
The Sentinel opener is intentional. It has the highest base HP, the simplest two-button rotation, and a self-heal that covers the early elite rooms where you are still learning enemy telegraphs. Once you unlock your second class at around hour 2, you keep the Sentinel slotted as the active class for survivability but start feeding XP into the secondary slot for inheritance.
Stat and Skill Priority
Emberville does not have a classic attribute point system — stats come from gear, class level, and inherited passives. That makes the priority list simpler but also makes misallocation more punishing because you cannot refund choices at a vendor. A full respeccing walkthrough is covered separately in our stats respec guide, but the safe path during leveling is to never invest gold or rare materials into a loadout you are still actively rotating out of.
| Priority | What to Upgrade | When | Why |
|---|---|---|---|
| 1 | Weapon damage on your active class | Immediate | Biggest raw DPS per gold spent |
| 2 | Combo unlock nodes | As soon as you hit the level gate | Multiplies damage of both buttons |
| 3 | Inherited passive from secondary | After secondary hits level 5 | Permanent buff to active class |
| 4 | Estate crafting stations | After first dungeon clear | Unlocks repair and mid-tier gear |
| 5 | Trinket slots | After first boss kill | Trinkets are the late-game scaling vector |
Emberville How to Level Up Fast: Route Planning
The single highest-impact change a new player can make is replacing "clear every room" with "clear a planned route." Procedurally generated dungeons look random, but the room pool is fixed, and elite rooms always sit at the same relative depth. Once you learn the layout logic, you can chart a three-room path that hits one elite, one chest, and a guaranteed extract — and skip the other twelve rooms entirely.
The Three-Room Speed Run
Speed leveling in the Vitromotus is built around a three-room template that you repeat vertically down the dungeon: each cycle is a short sprint through the entrance chamber, a mid-floor elite arena, and a final extract room before you reset on the Vitromotus respawn tile. Because every run wipes your mini-map, inventory buffs, and class XP progress — but not your cumulative level — the loop is intentionally tight, rewarding fast clears over slow looting and turning each descent into a predictable XP-per-minute pipeline that you can refine with practice.
-
Drop in, sprint to the first elite marker (always two rooms deep from the entrance tile).
-
Clear the elite, loot the chest that spawns in the corner, then check the map for the extract tile.
-
Extract or push one more room if your health and active class XP bar both look healthy, then bail.
Players who run this loop back-to-back report roughly level-per-hour rates on the demo's first three floors, and the rate only slows once you hit the floor where the first boss lives. For a deeper breakdown of how death, respawn, and the per-run reset actually work, our combat mistakes and death mechanics guide covers the exact failure cases that cost you a run.
When to Push Deeper vs. When to Reset
The classic Emberville leveling mistake is the "one more room" run that ends in a boss fight you are not ready for. Bosses in the Vitromotus are described on the official page as "challenging boss fights" that gate the next floor, and rushing one with a half-broken weapon is a guaranteed reset to town with no XP and no loot. The table below summarizes the decision rules most demo players settled on:
| Dungeon Floor | Recommended Action | Reason |
|---|---|---|
| Floor 1–2 | Always extract, never boss | XP curve is too steep to risk a wipe |
| Floor 3 | Boss only if level ≥ 8 in active class | Below that, the boss one-shots the Sentinel |
| Floor 4 | Always engage boss | Drops the gear that unlocks mid-game builds |
| Floor 5+ | Full clear, no speed routes | XP yield per room exceeds per-hour extraction cost |
Emberville Common Mistakes and Beginner Errors
Most Emberville beginner mistakes are not the dramatic "I died to the boss" kind — they are the slow leaks that eat 10–20% of your XP every run without you noticing. Catching these early is the difference between finishing the prologue in 8 hours and finishing it in 14.
The Five Slow Leaks
Below are the mistakes that show up over and over in community data from the demo build, plus the specific fix that turns each leak into a net XP gain. If you only fix three of these, fix the first three — they account for the majority of wasted time per run.
| Mistake | What It Costs You | The Fix |
|---|---|---|
| Clearing every room instead of routing | 30–40% of run time, with no XP return | Use the three-room speed route |
| Ignoring secondary class XP | 60% of inheritance potential | Always keep a secondary class slotted |
| Salvaging gear instead of equipping it | Lost stats, lost weapon XP | Equip the best-rarity item even if stats are off-role |
| Skipping the estate crafting stations | Slow repair, slow mid-game gear | Build a workbench before your second dungeon run |
| Not feeding rescued NPCs to the right building | Crafting XP goes to the wrong skill | Match NPC type to station type at placement |
Mistake Deep Dive: Over-Clearing
The first thing every new Vitromotus explorer does is open every door. The procedural generation makes the dungeon feel like a Metroidvania that punishes you for skipping content, but the XP math does not support that instinct. Trash rooms on the demo's early floors grant so little XP that a full clear of twelve rooms grants roughly the same class XP as a single elite clear. The fastest Emberville leveling guide route is therefore the smallest one that still hits the elite, the chest, and the extract. Everything else is filler.
Mistake Deep Dive: Salvaging Too Early
The two-button combat system means your weapon is doing most of the work, and a poorly rolled rare weapon is still better than a perfectly rolled common one for XP purposes. Salvaging gives you crafting materials, but it also gives up the weapon XP you would have earned by actually using the rare. According to the official news post on the GCX demo, each weapon opens its own set of combos, and stringing those moves together is what produces the heaviest hits — combo XP is locked to the specific weapon you equip, so salvaging a rare before you have extracted its combo tree is a real loss.
Advanced Progression: Estate, Crafting, and Long-Term Scaling
Once the dungeon floors open up, Emberville shifts from "level the class" to "build the town." The estate is where rescued NPCs live, where crafting stations unlock, and where your late-game economy actually lives. Our crafting and trinkets guide covers the economy side in detail, but the progression side is short enough to summarize here.
According to the official Steam listing for Emberville, the game launched its Early Access progression loop in mid-2024 with seasonal chapters that gate ember upgrades behind resource nodes collected across each biome.
What to Build at the Estate First
The estate has more building slots than you can fill in the first 20 hours, and the order you unlock them in matters a lot because each bench feeds into a specific progression gate — skipping workbench before floor 3 forces you to vendor broken weapons, delaying the embervill forge upgrade path by roughly two hours of farming. Build these four first, in this order, and you will not have to backtrack:
-
Workbench — unlocks weapon repair, which is the only way to keep a run going past floor 3.
-
Forge — mid-tier weapon crafting, which is also the cheapest source of gear XP.
-
Trinket bench — trinkets are the long-tail scaling vector and start dropping from floor 2 bosses.
-
Farm plot — slow passive gold income that becomes relevant around hour 8.
When Crafting Levels Outpace Combat Leveling
Around hour 12, the crafting XP curve catches up to the combat XP curve, and from that point forward, the two feed each other in a tight loop: combat runs drop materials, crafting stations turn them into gear, gear fuels deeper runs. Players who ignore crafting until hour 20 typically have to grind an extra 3–4 hours of catch-up runs on the early floors, which is one of the cleanest examples of an Emberville common mistake that is invisible until it is too late to fix cheaply. The official news coverage of the demo makes the same point: "the simple-yet-deep combat system" only stays simple if the gear pipeline behind it is running, and the gear pipeline is the estate.
Frequently Asked Questions
What is the fastest way to level up in Emberville?
Run the three-room speed route: drop in, hit the first elite, loot the chest, extract. This loop grants roughly one full active-class level per hour on the first three floors, and it scales to the next floor as soon as you clear the boss. Always keep a secondary class slotted so the inheritance XP keeps rolling even on short runs.
What is the best class to start with in Emberville?
Sentinel is the best starting class because it has the highest HP, a self-heal passive, and the simplest two-button rotation. It is the strongest opener for learning enemy telegraphs without dying, and it passes solid defensive passives to whatever active class you swap to at hour 6.
How do I avoid the most common beginner mistakes?
Stop over-clearing rooms, stop salvaging rare weapons before you have extracted their combo tree, and start building estate crafting stations before your second dungeon run. These three fixes alone recover roughly 30% of the XP most new players lose in the first 10 hours.
Can I respec my class or stats later in Emberville?
Yes, but the respec path is gated behind mid-game content. A complete walkthrough of when and how to respec without losing progress is in the stats respec and gear build guide. Plan your first 10 hours assuming every choice is permanent, then respec once the system opens up.
Does the demo progression carry over to Early Access?
According to the official Early Access announcement on Terminals, the prologue demo uses the same XP curves, class inheritance rules, and estate systems as the October 27 launch build. Time invested in the demo therefore transfers directly, especially if you have already learned the three-room speed route and the estate build order.