
Combat
Emberville combat guide: the two-button foundation, weapon-bound combo timing, positioning discipline, boss punish windows and the consumables that keep a deep expedition alive.
Introduction
Emberville combat looks simple on purpose. Cygnus Cross built the foundation around two buttons, then pushed all the depth upward into weapon-bound combos, class skills and inherited abilities. The result is a system that is easy to start and genuinely demanding to master, because the difficulty does not come from input complexity. It comes from reading enemies, holding your position, and choosing when to commit. That philosophy is stated explicitly by the developers, who describe combat as rewarding positioning and timing rather than reflexes alone. Bosses are framed as knowledge checks: learn the pattern, find the punish window, and bring enough preparation to survive the learning process. Threat also scales with depth rather than with a menu setting, so how far you push into the Vitromotus is itself the difficulty dial. Treat combat as a discipline of spacing and patience and the game opens up.
Combat Readiness Checklist
| Element | What It Does | How To Use It |
|---|---|---|
| Two-button base | Simple attack foundation for every weapon | Master spacing with it before chasing combo unlocks |
| Weapon-bound combos | Chains unique to the weapon in hand | Learn the commitment window before using them on bosses |
| Positioning | A stated core of the combat design | Stand where the follow-up cannot reach before you attack |
| Depth scaling | Enemies strengthen the deeper you venture | Treat depth, not a settings menu, as your difficulty control |
| Preparation | Potions, food and crafted tools | Replace raw power with consumables you can afford to lose |
Combat Systems
Two-Button Foundation
Simple inputs, deep decisions
Positioning Discipline
Where you stand is the real skill
Boss Knowledge Checks
Learn the pattern, then punish
Preparation Economy
Craft the answer you cannot out-fight
Dynamic HUD
The interface shifts with the task
Core Mechanics
The mechanics stack in a clear order. First comes the two-button attack base, which every weapon shares and which keeps the entry barrier low. Above it sit weapon-bound combos, where the chain strings change with your gear and a clean sequence ends in a heavier strike. Above that sits the class layer, where skills and inherited abilities add windows, tools and answers that pure weapon play does not provide. The interface supports this with a dynamic HUD that shifts depending on whether you are fighting, gathering, farming or building, so the information in front of you matches the task in hand. Healing comes largely from crafted consumables, and the developers have framed potions, food and tools made on your estate as the practical answer to a fight you are not yet strong enough to brute force. Because enemies strengthen with depth, the honest difficulty control is how far you choose to push on any given run.
Advantages
The strongest feature is that the difficulty is legible. When a fight goes wrong in Emberville, the reason is usually identifiable: you attacked into a windup, you held ground you should have given up, or you entered with a consumable supply too thin to survive a learning attempt. That legibility makes improvement fast, because you can fix a specific habit rather than grinding stats and hoping. The simple input foundation also keeps the skill ceiling approachable, since nobody is lost in a twenty-combo flowchart before their first real fight. Meanwhile the dynamic HUD means combat information is not competing with gathering or building overlays, and the estate economy means preparation is a progression path rather than a shopping trip. Because threat scales with depth, you can always step back one layer, farm comfortably, and return when your kit catches up.
Challenges
The main frustration for action-game veterans is that the two-button foundation can feel restrictive at first, especially while learning, because the depth is unlocked rather than given. Until your weapon's chain is familiar, fights can seem repetitive, and it is tempting to conclude the combat is shallow. It is also unforgiving about preparation in a way that reads as unfair to players used to regenerating health: a boss attempt without crafted consumables can end before the interesting part starts. Bosses themselves are knowledge checks, which means losing repeatedly is the intended learning path, and that can be exhausting. Finally, Early Access means tuning is provisional. Damage numbers, enemy aggression and consumable strength may all shift, so habits built on the current patch may need revisiting rather than being treated as settled rules.
Frequently Asked Questions
Why is Emberville combat only two buttons?+
How do I beat bosses in Emberville?+
Do potions and food really matter in Emberville?+
Quick Tips
Watch an enemy's feet and weapon rather than its health bar. The animation that starts an attack is your only warning, and the players who dodge reliably are the ones who learned to read the windup rather than react to the hit. Practise on ordinary creatures until it becomes automatic. Footwork practice on easy enemies is the cheapest investment you can make, because it costs nothing but time and pays off in every fight afterwards.
Do not spend your healing item in the middle of a losing exchange. Retreat first, create distance, then recover, because drinking while the enemy is still mid-combo simply wastes both the item and the opening you needed to escape. Patience during a bad moment is what turns a survivable fight into a won one.
Remember that depth is the difficulty dial. If a layer of the Vitromotus is killing you consistently, drop back one tier, farm materials comfortably, and come back with better gear and more consumables. Progress in Emberville comes from preparation, not from throwing attempts at a wall. Dropping back is not a defeat; it is the loop working as intended, because Emberville expects preparation to solve problems that raw aggression cannot.
Featured
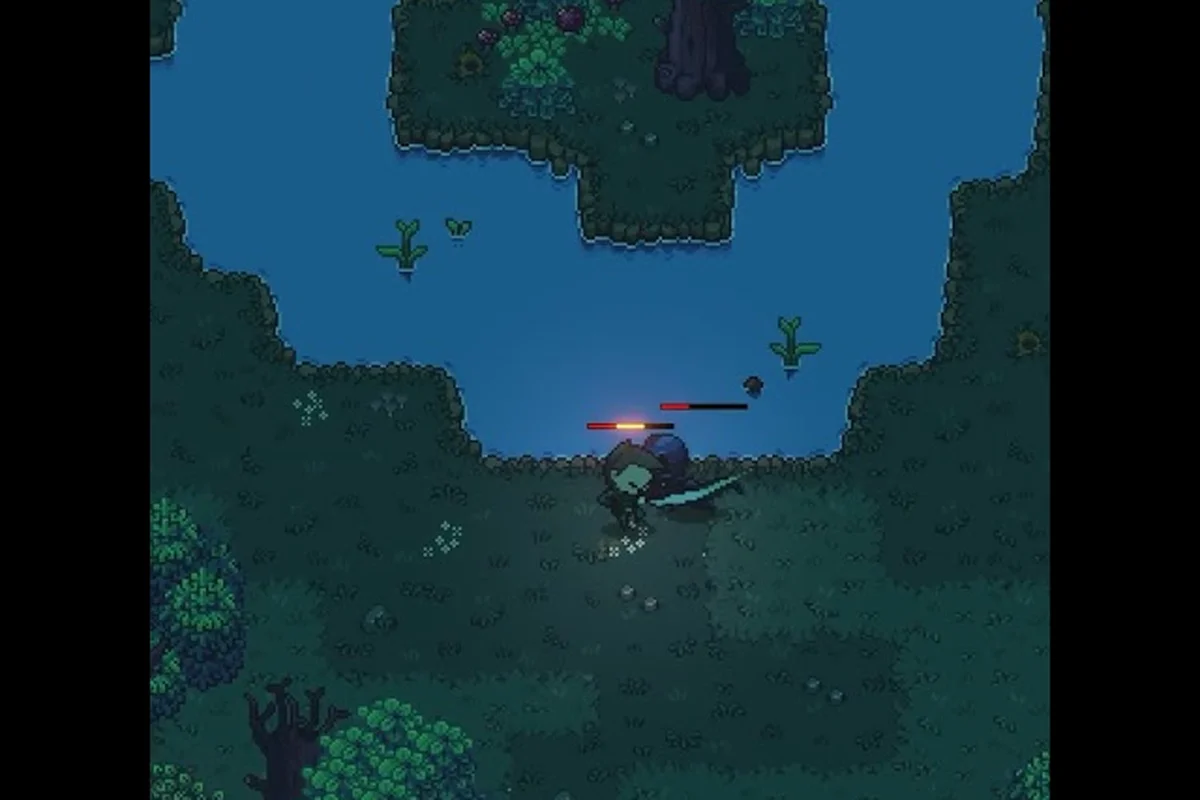
Emberville Combat Guide: Stamina, Mechanics, and Survival
Learn how Emberville combat works with stamina windows, enemy tells, and positioning rules that keep you alive in the Vitromotus dungeon crawl.
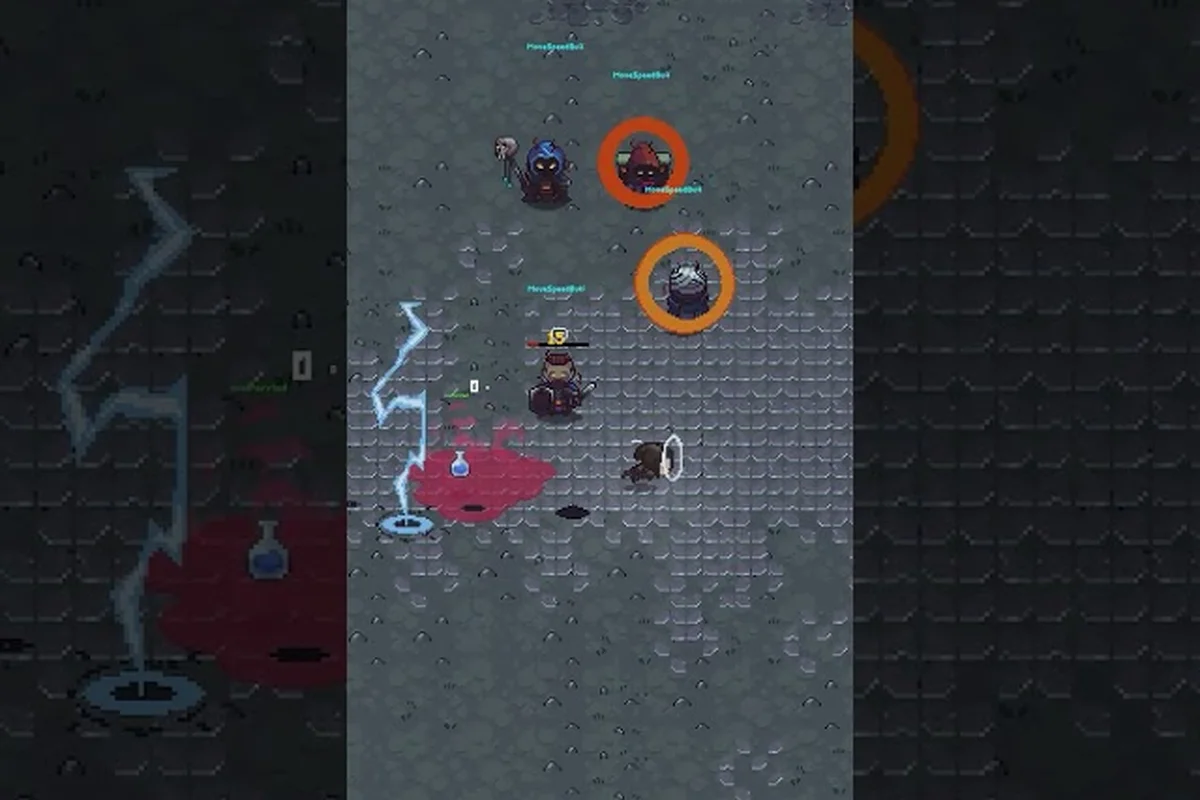
Emberville Blocking Guide: Timing, Chip Damage, and Guard Breaks
Use the Emberville block at the right moment to cut incoming damage, avoid chip-through hits, and read enemy telegraphs that signal an unblockable strike.

Emberville Chaining Attacks: Combos and Elite Counters
Chain Emberville attacks into longer combos against standard mobs and elites, with input strings, cancel windows, and how enemy archetypes punish greedy play.
All Articles

Emberville How to Beat Bosses: Patterns and Counters
Survive every Emberville how to beat bosses scenario with pattern breakdowns, dodge and parry timing, and loadout prep tips for the hardest Vitromotus encounters.

Emberville Combat Mistakes: Death, Respawn, and How to Stay Alive
Stop repeating the Emberville combat mistakes that send you back to respawn with clear death mechanic basics, healing timing, and safer engagement habits.

Emberville Difficulty Guide: Healing, Potions, and Status
Survive Emberville's hardest difficulty settings with smart healing item stacking, potion cooldown management, and counters for burn and poison status effects.

Emberville Resistances Guide: Counters, Weaknesses, and Boss Prep
Exploit Emberville enemy weaknesses and elemental resistances with the right weapon, gear, and consumable loadout before stepping into a tough boss arena.