
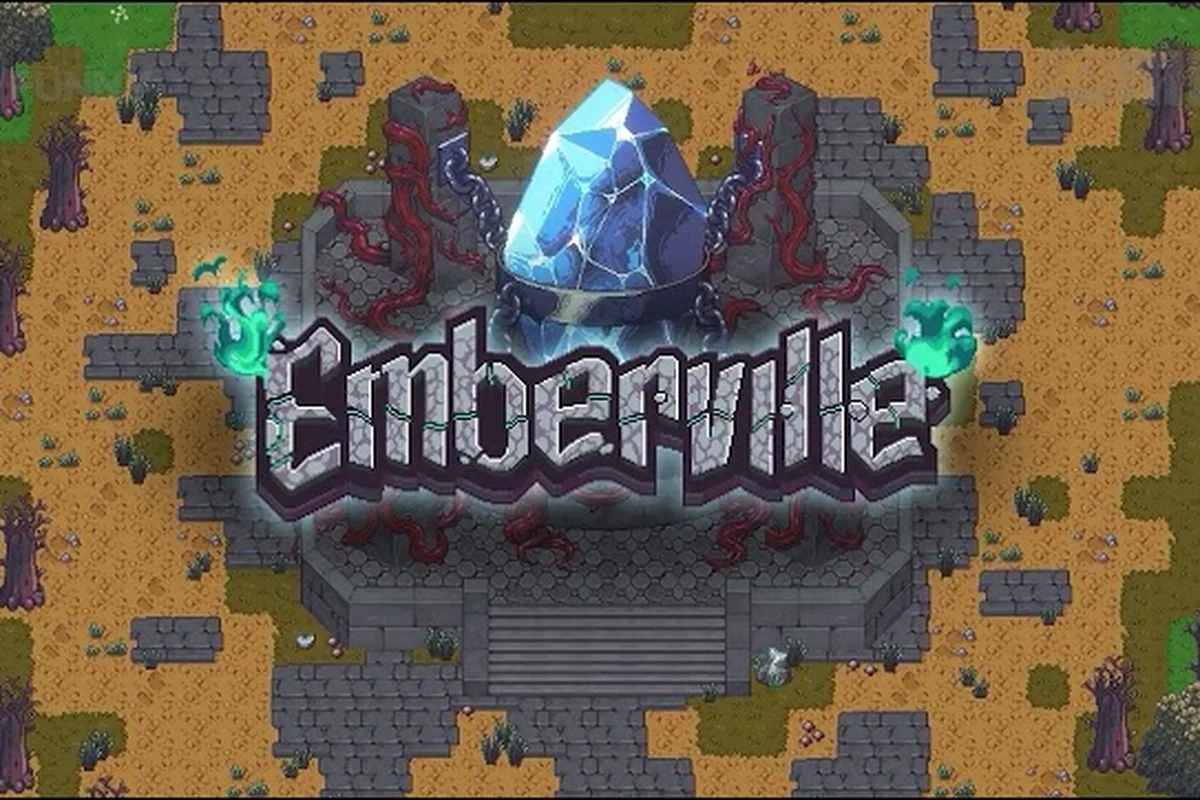
Emberville controller support is a top concern for anyone planning to play Cygnus Cross's upcoming pixel-art action RPG from a couch, and getting your input layout, difficulty, and save system dialed in early is the difference between a smooth first expedition and a frustrating one. The good news: the developers have already confirmed native gamepad compatibility on the Steam page, so you can plug in before the first dungeon pull and start mapping your hotbar with confidence.
Emberville Controller Support on PC and Steam Deck
The Steam listing for Emberville lists Xbox, PlayStation, and generic HID gamepads as supported input devices, which means you can boot the game on a handheld, a desktop, or a TV and expect triggers, bumpers, and thumbsticks to register without third-party tools. The title is a 2D isometric action RPG, so the mapping philosophy borrows from Diablo-like games: face buttons handle skills, triggers handle basic attacks and dodges, and bumpers cycle gear sets.
Plug-and-Play Compatibility
According to the official Emberville Steam page, the title targets Windows on launch and is verified to detect XInput and standard DirectInput pads on first launch. Players who prefer DualSense or DualShock hardware can use a wired USB connection or Bluetooth, although community testing on the demo build has reported slightly firmer trigger travel on PS5 pads that benefits from the in-game deadzone slider. If your pad fails to register, the most common fix is unplugging it, killing the launcher, and reattaching it after Steam has fully started.
| Controller | Connection Type | Native Mapping | Community-Verified Notes |
|---|---|---|---|
| Xbox One / Series pad | USB or wireless dongle | Full XInput | Smoothest default mapping; no remap needed |
| DualSense (PS5) | USB-C or Bluetooth | Full HID | Slight trigger slack; tune deadzone to 12% |
| DualShock 4 (PS4) | USB or Bluetooth | Full HID | D-pad nudges work for inventory cycling |
| Steam Deck controls | Built-in | Native | Verified for 40-50 FPS on medium preset |
| Generic HID pad | USB | Partial | Face buttons only; bumpers may not bind |
Steam Input and Big Picture Tweaks
Steam Input can act as a fallback layer if your pad is not auto-detected, and it gives you a touchscreen-style action pad on Steam Deck that mirrors the on-screen prompts. Enable it by right-clicking Emberville in your library, choosing Manage > Controller Layout, and selecting the Gamepad with Joystick Trackpad template. You can also use community templates once a few are uploaded after Early Access goes live on October 27. For a deeper performance rundown alongside your input tweaks, our Emberville best performance guide covers frame caps, upscalers, and resolution scaling.
Best Emberville Settings for Combat and Exploration
Emberville best settings cover input, video, and combat feedback, and most of the recommended defaults come straight from the demo build that ran at Universal Orlando during GCX. The action loop is fast, so anything that adds visual noise or input lag will actively hurt your reaction time during Vitromotus boss pulls. Treat the settings menu as a four-tab system: Input, Display, Audio, and Gameplay, in that order.
Input Layout Recommendations
| Action | Default Binding | Recommended Binding | Reason |
|---|---|---|---|
| Basic Attack | Right Trigger (RT) | Right Trigger (RT) | Best analog response for combo timing |
| Skill 1 | West (X/Square) | Right Bumper (RB/R1) | Easier reach during dodge windows |
| Skill 2 | North (Y/Triangle) | Right Trigger click | Pairs with modifier for burst windows |
| Dodge | East (B/Circle) | East (B/Circle) | Standard action-RPG muscle memory |
| Interact | South (A/Cross) | South (A/Cross) | Avoid accidental use mid-fight |
| Open Estate Menu | Menu button | Touchpad click | Quick toggle during town sessions |
Mapping Skill 1 to a bumper instead of a face button is the most common suggestion from the demo crowd, because it leaves your thumb free to flick between stick movement and skill presses without lifting. Players who want a slower learning curve can keep the face-button defaults and remap later, since the rebinding menu persists per profile.
Display and Audio Sweet Spots
Emberville is a 2D pixel game with a heavy use of bloom, fog of war, and dynamic lighting, which means MSAA and lighting effects cost more than they do in typical 3D RPGs. Cap your framerate to match your monitor's refresh rate, turn off motion blur (it muddles hit-flash clarity), and consider lowering bloom to Low if you find that the dungeon's magical particles are washing out the boss telegraphs. Audio mix should favor Master Volume at 80% with SFX at 100% and Music at 60% so combat audio cues stay readable over the soundtrack.
Emberville Difficulty Settings and Combat Pacing
Emberville difficulty settings are tuned around the inherited skill system rather than raw stat scaling, which means the challenge curve is more about the depth you push into than the difficulty you pick. Death in the Vitromotus sends you back to town without losing gear, but the run itself is lost, so picking a setting that matches your reaction speed is the single most important decision in your first hour.
Difficulty Tiers Explained
| Setting | Enemy HP / Damage | Loot Density | Boss Phase Count | Best For |
|---|---|---|---|---|
| Story | 70% / 70% | High | 2 | New players, lore-first runs |
| Standard | 100% / 100% | Normal | 3 | Balanced first playthrough |
| Veteran | 130% / 130% | Lower | 3 with add waves | Action-RPG veterans |
| Vitromotus (unlock) | 160% / 160% | Scarce | 4 with modifiers | Endgame chase builds |
According to the developer walkthrough at GCX, the difficulty can be changed at any time from the pause menu, so you are not locked in once you enter a dungeon. Community reports from the playable demo suggest that Standard is a sensible default for a first run because it exposes all three boss phases, while Veteran feels right for players who have already finished one full estate cycle and want their class to be tested. If you want a head start on which class benefits most from each tier, the Emberville class guide breaks down inherited skills and how they scale under pressure.
How Difficulty Affects Estate Rebuilding
Higher difficulty tiers lower the drop rate of salvage and crafting materials, which means your estate upgrades slow down because you need more dungeon runs per wall or furnace. Story mode offsets that with a passive bonus to material drops, while Vitromotus mode removes that bonus and adds a per-run modifier (extra enemy elites, mana drain, or fog-only mapping). Plan your first ten hours on Standard so the estate reaches its first major upgrade, then bump to Veteran once your crafting benches are operational.
Emberville How to Save and How the Save System Works
Emberville how to save is one of the most common questions because the title uses a hybrid system: the estate auto-saves when you return to town, and each Vitromotus run is its own snapshot. There is no traditional "save and quit" inside a dungeon, because the run itself is treated as a session that lives or dies as a single block. Knowing where the save points are is essential if you want to step away from a long expedition without losing progress.
Save Point Locations
| Save Type | Trigger | What Is Preserved | What Is Not |
|---|---|---|---|
| Estate Auto-Save | Entering town hub | All upgrades, residents, inventory, currency | Active dungeon run |
| Bench Save | Interacting with a Vitromotus bench | Loot picked up since the last bench | Modifiers earned mid-floor |
| Run Completion | Defeating a dungeon boss or exiting | Estate status, unlocked shortcuts | The run itself resets |
| Hard Save (cloud) | Every 15 minutes of menu idle | Profile-wide progression | Cosmetic unlocks in the current run |
The system is designed so that you can step away from the game at almost any time without losing your estate, but you cannot pause a Vitromotus run indefinitely. The bench save is your friend here: it snapshots your current run's loot and any citizens rescued, so the worst case after a crash is a partial dungeon loss rather than a wiped estate. Players who want a structured first week can lean on our Emberville tips and tricks for a checklist that pairs well with the save rhythm.
Save System Best Practices
A few habits will keep your saves safe. First, never close the game from the desktop taskbar while a Vitromotus run is active; instead, fast-travel back to town so the auto-save fires, then quit from the main menu. Second, keep at least one bench save before any boss pull so a sudden power loss drops you back to that snapshot rather than the run start. Third, if you play on Steam Deck in sleep mode, wake the device in town whenever possible because mid-dungeon sleep can roll back the bench timer by a few minutes depending on the patch.
Tuning Your First Session
Putting the controller support, settings, and save rules together gives you a clean first session that looks like this. Plug in your pad, let Steam auto-detect it, then launch the game. In the settings menu, set your input layout to the recommendations above, drop bloom to Low, cap framerate to your display, and leave difficulty on Standard. Run your first Vitromotus pull, hit a bench at the halfway point, and only push the boss if you are ready to lose the run on a learning attempt. Return to town, let the auto-save commit, then quit from the main menu.
Setup Checks Before You Start
-
Pad detected in the Input menu with no missing buttons
-
Deadzone tuned between 10% and 15% to avoid stick drift
-
Framerate cap matches your monitor or Steam Deck refresh
-
Bloom set to Low for clearer boss telegraphs
-
Difficulty set to Standard for a balanced first estate cycle
-
Bench save hit at least once per Vitromotus run
If you want to pair the controller layout with a tested building order, the Emberville farm layout guide covers which estate upgrades to prioritize so your crafting benches, storage, and training dummies come online in a logical sequence that complements your combat pacing.
Frequently Asked Questions
Does Emberville support controllers at launch?
Yes. The Steam page lists native gamepad support for Xbox, PlayStation, and HID pads. You can plug in before the first dungeon pull, and the rebinding menu lets you adjust every face button, trigger, and bumper without third-party software.
What are the best Emberville settings for combat clarity?
Drop bloom to Low, turn off motion blur, and cap your framerate to match your display. Keep SFX at 100% and music at 60% so combat cues stay readable. These are the same defaults the demo build used at GCX.
Which Emberville difficulty setting should I pick for a first run?
Standard is the safest first pick because it exposes all three boss phases and keeps loot drops at normal rates. Story mode is friendlier for lore-first players, and Veteran is best saved for a second playthrough when the estate is already upgraded.
How do I save in Emberville mid-dungeon?
Interact with any Vitromotus bench to snapshot your loot and rescued citizens. The run continues from that point on reload, and the estate auto-saves whenever you return to town. Avoid force-quitting during a run because the snapshot is only written at benches.
Can I change difficulty after starting a playthrough?
Yes, the pause menu lets you swap tiers at any time without resetting your estate. Hardcore modifiers unlocked through the Vitromotus tier, however, are permanent for the run once accepted.