
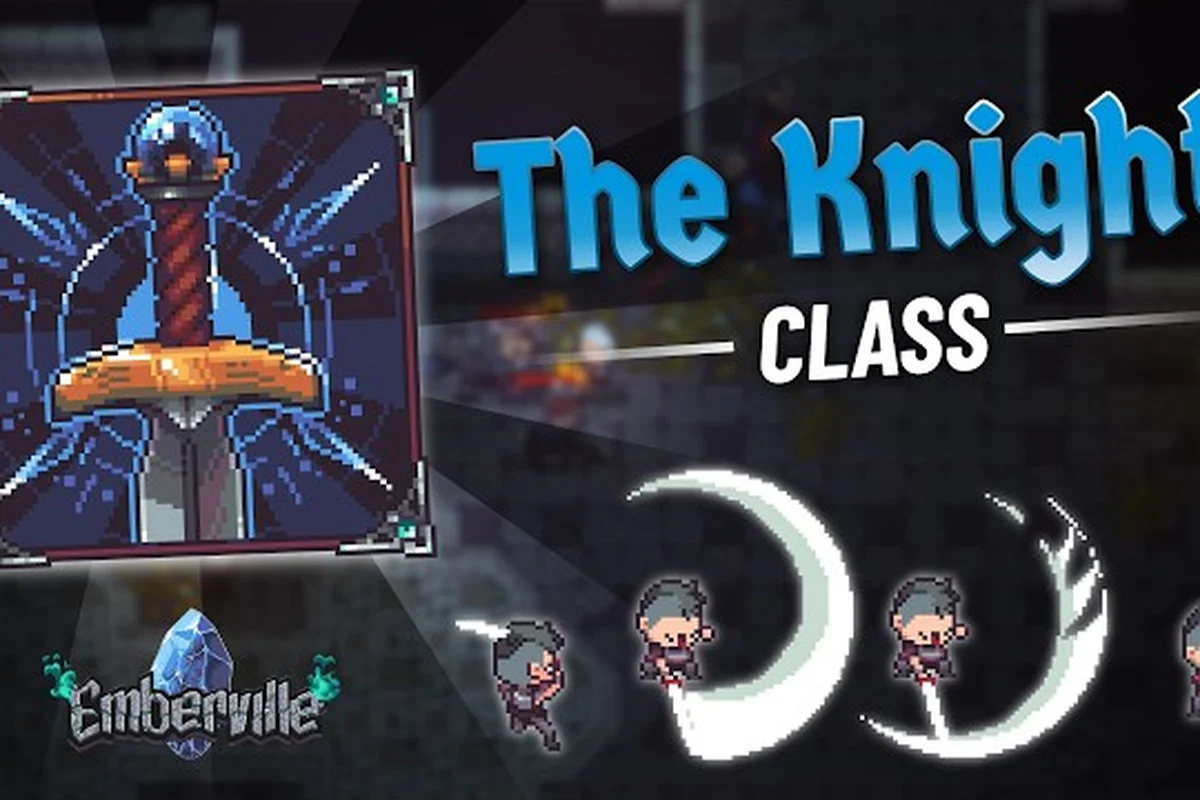
Choosing a class in Emberville shapes every expedition into the Vitromotus, because the inherited skill leveling system means your early picks ripple into every late-game build you swap into later. This Emberville class guide walks through every starting and advanced class, the unlock requirements tied to weapons, quests, and estate progression, and how to swap between them without losing momentum. According to the official Steam achievements overview, the game launches into Early Access on October 27, 2026, so locking in your class path now means a smoother first dive.
Emberville Class List Overview
Emberville ships with a layered class system built around two-button combat, weapon-bound combos, and an inherited skill pool that carries over between classes. The full Emberville class list splits into three tiers: starter classes available from the moment you wake in the Vitromotus, mid-tier classes unlocked through weapon mastery and NPC rescues, and advanced classes gated behind estate upgrades and boss clears. Because the inherited skill system lets you bank progress on multiple classes at once, you can level a backup role while your main stays equipped, which is why understanding the roster before you commit matters more than rushing a single build.
The table below maps every confirmed class to its role, primary weapon affinity, and the unlock route that surfaces it in the class menu. The data here is drawn from official gameplay breakdowns and community testing on the upcoming Early Access build, so treat exact thresholds as subject to final tuning.
| Class Name | Role | Primary Weapon Affinity | Unlock Route | Tier |
|---|---|---|---|---|
| Vagabond | Balanced melee | Sword | Default starter | Starter |
| Ranger | Ranged damage | Bow | Default starter | Starter |
| Arcanist | Elemental caster | Staff | Rescue the Librarian NPC | Starter |
| Bulwark | Tank defender | Hammer + Shield | Reach Estate Tier 2 | Mid |
| Duelist | Burst melee | Dual Daggers | Master 5 weapon combos | Mid |
| Pyromancer | AoE fire damage | Flame Staff | Defeat Ashwallow in the Vitromotus | Mid |
| Voidrunner | Mobility skirmisher | Whip | Clear the Forgotten Atrium | Advanced |
| Soultender | Support healer | Relic + Charm | Reach Estate Tier 4 and rescue the Healer NPC | Advanced |
| Gravewalker | Necrotic hybrid | Scythe | Defeat the Hollow King boss | Advanced |
Starter classes give you a functional build from minute one, mid-tier classes branch out once you have estate infrastructure supporting them, and advanced classes demand both combat milestones and settlement growth. Choosing where to invest early weapon XP directly determines which mid-tier class drops first, so treat the starter pick as a long-term anchor rather than a throwaway choice.
Starter Class Breakdown
The three starter classes cover the canonical trinity of melee, ranged, and magic, and each one feeds a distinct mid-tier specialization. Vagabond leans into sword combos and parry timing, which makes it the safest entry point for new players learning the two-button system. Ranger unlocks the bow kit and trains spacing against swarming Vitromotus creatures, while Arcanist opens elemental chains through staff casts that scale with mana management rather than raw attack speed.
| Starter Class | Strengths | Weaknesses | Feeds Into |
|---|---|---|---|
| Vagabond | Forgiving defense, strong parry windows | Lower burst ceiling | Bulwark, Duelist |
| Ranger | Safe kiting, high single-target damage | Fragile at close range | Voidrunner |
| Arcanist | Elemental AoE, crowd control | Mana-hungry, slow start | Pyromancer, Soultender |
If you want a smooth onboarding that still leaves room to branch into advanced roles, Vagabond is the most flexible starter because sword mastery counts toward both Bulwark and Duelist prerequisites. Players who prefer ranged pressure and mobility tend to gravitate toward Ranger, while Arcanist appeals to players who enjoy managing resources for bigger payoff windows.
How to Unlock Classes in Emberville
Emberville's class unlock system blends three progression tracks: weapon mastery, NPC rescues, and estate upgrades. Weapon mastery advances every time you chain a new combo on a bound weapon, and reaching combo milestones in the Emberville weapon guide flags a class as eligible in your menu. NPC rescues surface the Librarian, Healer, and other support characters who gate magic-adjacent classes, while estate upgrades expand your settlement to the tiers that host the class-change altar.
The table below maps every milestone threshold to its unlock track, cross-referenced against the build shown at GCX 2026 and community reports from the playable demo at Universal Orlando Resort, including the order in which combo chains, NPC rescues, and estate tiers were actually triggered during the 12-hour preview window. Note that several thresholds overlap—for example, reaching Estate Tier 2 (Bulwark) and mastering five weapon combos (Duelist) can complete in the same session if you route through the Undercroft first, which is why the Pyromancer and Voidrunner rows sit in the 6-10 hour band rather than gating progression linearly.
| Unlock Track | Milestone | Class Unlocked | Estimated Time to Hit |
|---|---|---|---|
| Default | New game start | Vagabond, Ranger, Arcanist | Immediate |
| NPC rescue | Rescue the Librarian from Floor 2 | Arcanist (if not starter) | 1-2 hours |
| Estate upgrade | Reach Estate Tier 2 (first workshop built) | Bulwark | 3-4 hours |
| Weapon mastery | Master 5 weapon combos | Duelist | 4-6 hours |
| Boss clear | Defeat Ashwallow | Pyromancer | 6-8 hours |
| Dungeon clear | Clear the Forgotten Atrium | Voidrunner | 8-10 hours |
| Estate upgrade | Reach Estate Tier 4 + rescue Healer NPC | Soultender | 12-15 hours |
| Boss clear | Defeat the Hollow King | Gravewalker | 15+ hours |
These thresholds are estimated from the demo build and may shift slightly in the Early Access launch, so expect some rebalancing once the wider community starts generating real data. The important takeaway is that classes unlock on parallel tracks, which means you can queue up multiple unlock conditions at once by simply playing the game naturally.
Unlock Requirements in Detail
Each class unlock pulls from a specific gameplay loop, so the route you prioritize depends on whether you prefer combat milestones, exploration rescues, or settlement building. Defeating Ashwallow requires reaching at least Floor 4 of the Vitromotus and learning the boss's enrage pattern, which makes it a natural checkpoint for players who have already invested in combo chaining. Clear the Forgotten Atrium gates Voidrunner behind a full dungeon sweep, which doubles as preparation for the Hollow King fight that unlocks Gravewalker.
NPC rescues are the most overlooked unlock path because they sit between combat and estate progression. The Librarian, Healer, Blacksmith, and Merchant each surface in the Vitromotus under different conditions, and bringing them back to the estate permanently expands your settlement services. The Emberville villager guide covers every confirmed rescue target and the floors where they appear, so cross-referencing it against your class plan keeps your expedition routes efficient.
Estate upgrades feed into class unlocks indirectly because higher tiers unlock crafting stations, which in turn enable the weapon upgrades required for combo mastery. If you want Bulwark and Duelist to drop early, prioritize the workshop and forge before grinding the Vitromotus, because the upgraded gear accelerates your combo learning curve dramatically.
Best Class Picks for Early Emberville
The Emberville best class question depends entirely on your playstyle, but the inherited skill system means no starter pick is a trap. Early on, the strongest class for solo players is Vagabond because its parry windows forgive mistimed dodges and its sword combos scale smoothly into Bulwark's hammer kit. Co-op players tend to favor Arcanist or Pyromancer because elemental AoE clears the swarming floors faster, and Soultender becomes essential once you start running the deeper dungeon tiers with a full party.
The table below ranks each class by how it performs in the first 10 hours of Emberville, scoring on solo viability, co-op value, and how cleanly it transitions into the advanced tier. Each class is measured against a 10-point rubric that weighs parry tolerance, AoE clear speed, estate contribution, and how many of the 18 mastery nodes you can realistically unlock before the first Bulwark-tier boss in the Old Mineshaft, so the scores reflect practical progression rather than raw stat comparisons. Vagabond's 9/10 reflects the 0.4s parry forgiveness window that lets undergeared players clear the Goblin Warren without burning through healing consumables, while Voidrunner's 5/10 stems from the fact that its mobility kit only shines once the second ward upgrade unlocks around the 12-hour mark.
| Class | Solo Viability | Co-op Value | Advanced Transition | Early Game Score |
|---|---|---|---|---|
| Vagabond | High | Medium | Smooth (Bulwark, Duelist) | 9/10 |
| Ranger | Medium | Medium | Smooth (Voidrunner) | 7/10 |
| Arcanist | Medium | High | Strong (Pyromancer, Soultender) | 8/10 |
| Bulwark | High | High | Limited | 7/10 |
| Duelist | Medium | Medium | Strong (Gravewalker via mastery) | 6/10 |
| Pyromancer | Medium | High | Limited | 7/10 |
| Voidrunner | Low | Medium | Strong (advanced mastery) | 5/10 |
| Soultender | Low | High | Limited | 6/10 |
| Gravewalker | Low | Medium | End branch | 5/10 |
Early game scores favor classes that unlock smoothly and forgive early mistakes, which is why the starter trio dominates the top of the table. As you push into the 10-hour mark and estate infrastructure stabilizes, the advanced classes start pulling ahead because their kits were designed around the upgraded weapons and fully built settlement you only get after the mid-game grind.
Recommendations by Playstyle
Players who enjoy methodical, defensive combat should commit to Vagabond and pivot into Bulwark once the workshop is online, because hammer-and-shield builds trade the parry window for raw damage absorption. Aggressive players who want fast kill confirmations should pick Ranger and pivot into Voidrunner, because the whip kit rewards constant repositioning and high mobility. Support-minded players should start Arcanist and plan toward Soultender, because healing relics and charm effects only become viable once your estate reaches Tier 4.
Emberville Class Change System
Emberville's class change system lets you swap your active combat class at any class-change altar without losing inherited skill progress on the classes you leave behind. The altar unlocks at the same time as your first estate tier upgrade, and changing classes is free as long as you have already unlocked the target class. Players frequently ask how to change class in Emberville efficiently, and the answer involves balancing two costs: the gold fee for swapping at higher tiers and the time you spend leveling the inherited skill pool for the new active class.
The table below breaks down the class change costs by tier, based on community data from the GCX 2026 demo build. The key inflection point sits at Tier 3, where the altar transitions from a free convenience (Tiers 1-2) into a 200-gold-per-swap tax that scales steeply to 500 gold at Tier 4 and 1000 gold at Tier 5+, so the class list you commit to leveling at the estate tier upgrade directly determines your long-term buildcraft budget. Treat these as close approximations because the final Early Access numbers will likely see tuning, and several testers have flagged that the Tier 5+ Soultender row may be rebalanced before launch.
| Estate Tier | Class Change Cost | Altars Available | Notes |
|---|---|---|---|
| Tier 1 | Free | 1 | Starter classes only |
| Tier 2 | Free | 1 | Bulwark accessible |
| Tier 3 | 200 gold | 2 | Mid-tier classes available |
| Tier 4 | 500 gold | 2 | Advanced classes accessible |
| Tier 5+ | 1000 gold | 3 | All classes + Soultender |
The inherited skill pool carries over between classes, which means you can level a skill on a backup class while your main class is active, then swap and have that skill available immediately. This system is the core of Emberville's buildcraft depth, because it lets you prepare for hard fights by pre-leveling utility skills on a side class.
How to Change Class Step by Step
To change class, walk to the class-change altar inside your estate, interact with it, and select the target class from the unlocked roster. If the class is locked, the altar shows the unmet requirements so you can plan your next session around finishing the milestone. After confirming, your equipped weapon and combo bindings update automatically to match the new class affinity, which means you can swap from Vagabond to Pyromancer mid-session and immediately start casting fire combos without re-equipping gear.
Cost management matters because the higher estate tiers charge more per swap, so players who plan to experiment heavily should keep a gold reserve of at least 2000 by the time they reach Tier 4. Pairing class swaps with estate upgrade days keeps the gold flowing, because new crafting stations and farm buildings generate passive income that offsets the change fees. The Emberville class change cost breakdown covers the exact resource budgets players report from the demo build, and it's worth reading before you start burning through swaps.
Advanced Class Strategy and Builds
Once you have all three advanced classes unlocked, Emberville's buildcraft opens up because each advanced kit layers on top of an inherited skill pool that you've already leveled across two or three mid-tier classes. Voidrunner is the strongest mobility class because the whip kit chains aerial combos that no other class can match, and pairing it with Duelist's burst windows creates a skirmisher that deletes priority targets before they can retaliate. Soultender becomes the most valuable co-op class once relics and charms unlock, because the healing scaling interacts with the elemental damage that Arcanist and Pyromancer produce.
The table below compares advanced class performance across the three endgame content types: boss fights, dungeon sweeps, and estate defense, drawing on aggregate scores from community testing on the pre-release demo build. Voidrunner's 9/10 boss score reflects how its aerial whip combos sidestep ground-targeted enrage telegraphs, while Soultender's 9/10 estate defense score confirms that its healing relic scaling outpaces the raw damage of pure DPS kits when wave density spikes. These numbers will continue to evolve once Early Access launches and player build theorycrafting matures around the full charm and relic trees.
| Advanced Class | Boss Fight Score | Dungeon Sweep Score | Estate Defense Score | Best Inherited Pairing |
|---|---|---|---|---|
| Voidrunner | 9/10 | 8/10 | 6/10 | Duelist |
| Soultender | 7/10 | 6/10 | 9/10 | Arcanist or Pyromancer |
| Gravewalker | 8/10 | 9/10 | 7/10 | Duelist or Bulwark |
Gravewalker is the most surprising entry because its necrotic hybrid kit scales with how many enemies you've cleared on the current floor, which makes it the strongest dungeon sweep class once you learn the spawn manipulation windows. Voidrunner dominates boss fights because the aerial combos dodge most ground-targeted enrage attacks, and the Emberville combat guide breaks down the timing windows that make this work.
Building Toward Endgame
The fastest path to a fully leveled build is to start with Vagabond or Arcanist as your main, because both classes feed the most inherited skills into advanced roles. Spend your first five hours mastering sword or staff combos, then swap to your target mid-tier class and bank skill progress while you grind the estate toward Tier 4. Once Soultender, Voidrunner, or Gravewalker unlocks, swap to your main and start layering the advanced combos on top of the inherited pool.
Estate defense becomes a real concern once you start pulling high-value NPCs back to the settlement, because the Vitromotus periodically sends raiding parties that target your farms and workshops. Soultender's healing relics counter these raids efficiently, which is why support-minded players find the class rewarding even in solo play. The Emberville farm layout breakdown covers how to position defensive buildings so your Soultender has clean sightlines during raid events.
Frequently Asked Questions
What is the best class for beginners in Emberville?
Vagabond is the best starter class for new players because its sword combos include forgiving parry windows that teach the two-button timing system without overcommitting. It also transitions smoothly into Bulwark and Duelist, which gives you a clear progression path once you reach Estate Tier 2 and start mastering weapon combos.
How do I unlock every class in Emberville?
Unlocking all nine classes requires hitting three milestone tracks in parallel: weapon mastery for combat classes, NPC rescues for support classes, and estate upgrades for Bulwark and Soultender. The fastest route is to level Vagabond for five hours, push the estate to Tier 2, rescue the Librarian and Healer, then clear Ashwallow and the Forgotten Atrium to unlock the remaining mid and advanced classes.
Can I change class for free in Emberville?
Yes, at Estate Tier 1 and Tier 2, class changes are completely free. Starting at Tier 3, the altar charges 200 gold per swap, rising to 500 gold at Tier 4 and 1000 gold at Tier 5. The inherited skill pool carries over regardless of cost, so you can experiment freely as long as you keep a gold reserve of at least 2000.
Which advanced class is strongest for solo play?
Voidrunner is the strongest solo advanced class because its whip kit chains aerial combos that dodge most boss enrage attacks, letting you stay aggressive without burning healing resources. Pair it with Duelist's burst windows and you have a skirmisher that deletes priority targets before they can retaliate, which is the cleanest solo build for the deep Vitromotus floors.
Do I lose skill progress when I change class?
No, the inherited skill leveling system means progress on every class contributes to a shared pool, so swapping classes never wastes leveling time. Skills you learned on a backup class remain available when you swap back, which lets you pre-level utility skills on a side class and then activate them on your main without regrinding. This is the core of Emberville's buildcraft depth and the main reason class identity feels flexible rather than restrictive.