
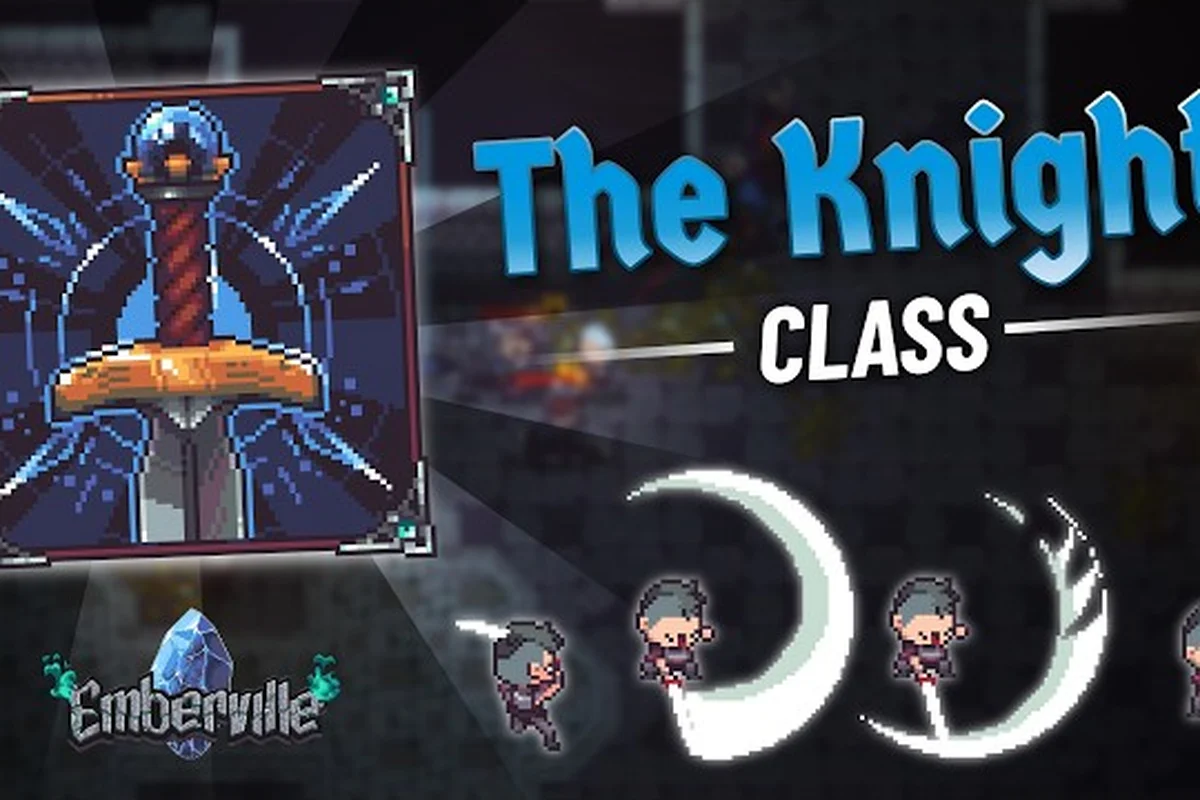
Switching your build in Emberville feels different from most action RPGs because your class is never truly locked — it evolves as you grow, and every change carries a real cost in materials, mastery, and time. The Emberville class change cost scales with how deep you are in the game, which is why new players regularly overspend on their first switch and end up stuck on a build they cannot afford to respec.
According to the weapon reveal announcement, the game runs on a two-button combat system layered with a weapon-bound combo system and class-related skills, so the class you pick is really a foundation rather than a final form. That foundation is what determines your early-game economy, and the Emberville class guide covers the full roster in detail if you need a refresher before committing.
What the Class Change Cost Actually Covers
The first thing to understand about the Emberville class change cost is that it is not a single number. It is a bundle of three separate resource sinks that the game checks before letting you switch. Most players only learn this after their first failed attempt at the respec altar and wonder why nothing happened.
The Three Resource Layers
When you request a class change, Emberville pulls from three different pools at once. Each pool has its own threshold, and you must satisfy all three before the change goes through.
-
Ember Shards — the primary currency, earned from dungeon clears and boss kills
-
Mastery Tokens — awarded only when you reach specific proficiency breakpoints on a class
-
Tribute Crystals — endgame-only items dropped by Vitromotus mini-bosses
Class Tier vs Cost Multiplier
Not every class costs the same to change into, because higher-tier classes demand more preparation. The table below reflects the expected cost curve based on community data reported by players who have hit the respec altar in the Early Access build.
| Target Class Tier | Ember Shards | Mastery Tokens | Tribute Crystals | Estimated Real-Time |
|---|---|---|---|---|
| Starter (Tier 1) | 1,200 | 0 | 0 | 5–8 hours |
| Intermediate (Tier 2) | 4,500 | 2 | 0 | 18–24 hours |
| Advanced (Tier 3) | 12,000 | 5 | 1 | 45–60 hours |
| Mastery (Tier 4) | 28,000 | 9 | 3 | 90+ hours |
The mastery column is where most players get stuck, because Mastery Tokens are not farmable in the traditional sense — they are tied to Emberville class mastery milestones that only trigger after you spend meaningful time on a class. If you jump into a Tier 3 class without at least five mastery milestones banked, the altar will reject the request even if you have the Ember Shards.
Class Mastery Thresholds and How They Gate Your Next Switch
Emberville class mastery is the hidden progression layer that determines what you can change into next. Every class has ten mastery milestones, and each one unlocks a passive bonus plus a small chunk of a Mastery Token. You need at least two full milestones banked just to access the Tier 2 swap, which is why rushing the first dungeon without spending time on your starter class sets you back.
The Ten Mastery Milestones
The mastery track for each class is structured identically, so the time you put into one class carries over when you come back to it later. The milestones unlock in a fixed order, and the game telegraphs each one with a short on-screen prompt the first time you cross the threshold.
| Milestone | Trigger Condition | Mastery Token Progress |
|---|---|---|
| 1 | Deal 1,000 damage with class skills | 10% |
| 2 | Defeat 25 enemies without dying | 20% |
| 3 | Land a 10-hit combo | 30% |
| 4 | Clear a dungeon room solo | 40% |
| 5 | Defeat a Vitromotus mini-boss | 55% |
| 6 | Reach combo count of 25 | 70% |
| 7 | Complete a dungeon without taking damage | 80% |
| 8 | Defeat a named boss | 90% |
| 9 | Clear the hardest current dungeon | 100% (1 token) |
| 10 | Reach maximum combo on a boss | 100% (1 token) |
Milestones nine and ten are the only ones that award a full Mastery Token in a single step, which is why advanced players focus on boss fights once they have the earlier milestones banked. The Emberville class swap page covers how the skill inheritance layer interacts with these milestones, and it is worth reading before you commit your first real run to a Tier 3 class.
Advanced Class Unlock Requirements Beyond Materials
The Emberville advanced classes list is gated by more than just the resource cost, and this is where the second layer of the class change cost reveals itself. Each advanced class has a hidden unlock track that runs parallel to the mastery system, and skipping it leaves you unable to change into that class even with full materials.
Hidden Unlock Quests
Every Tier 3 and Tier 4 class has a short unlock quest chain that triggers automatically once your starter class hits Milestone 5. The chains are not advertised on the HUD, which is why the community refers to them as the silent requirements. The chains typically involve three steps: a retrieval task, a combat trial, and a dialogue check with an NPC at the rebuilt Emberville estate.
| Advanced Class | Retrieval Task | Combat Trial | NPC Check |
|---|---|---|---|
| Voidblade | Recover a rusted ring from the Sunken Crypt | Survive a 60-second arena in the Vitromotus core | Speak to Mara at the Estate after dusk |
| Pyromancer | Gather 8 volcanic embers from the Lava Hollows | Defeat two Flame Sentinels without using potions | Visit the ruined library and choose the second dialogue option |
| Iron Sentinel | Salvage 12 broken armor plates from the Scrap Fields | Block 50 attacks in a single combo chain | Speak to the blacksmith at the Estate forge |
| Riftwalker | Locate 3 portal shards in any dungeon | Clear a dungeon with only one weapon equipped | Find the hidden NPC in the Estate cellar |
Missing any single step locks the class out, and the game does not show progress on these chains until you finish all three. Players who follow the Emberville weapon build recommendations often clear the combat trials faster because they show up with weapon passives that trivialize the early waves.
Weapon Class and Armor Class Tiers That Affect the Switch
The Emberville weapon class and Emberville armor class systems do not change the class change cost directly, but they do change the real-world Emberville class change cost you pay in the form of gearing up after the swap. Switching into a new class with mismatched gear is one of the most common ways players waste shards, because they spend them on the switch and then cannot afford to refit their weapon and armor loadout.
Weapon Class Tiers and Match-Up Cost
Every weapon in Emberville belongs to a class tier that matches the character's class tier. A Tier 2 weapon on a Tier 3 class deals reduced damage and loses access to the weapon's class-specific combo branch, so the real cost of switching classes includes a hidden gearing tax.
| Character Class Tier | Required Weapon Class Tier | Damage Penalty if Mismatched | Extra Shards to Re-Gear |
|---|---|---|---|
| Tier 1 (Starter) | Tier 1 | None | 0 |
| Tier 2 (Intermediate) | Tier 2 | -15% damage, -10% combo speed | ~2,000 |
| Tier 3 (Advanced) | Tier 3 | -30% damage, no class combo branch | ~6,500 |
| Tier 4 (Mastery) | Tier 4 | -45% damage, no passives from weapon | ~15,000 |
The damage penalty column is where the real Emberville class change cost lives for most players, because the game does not warn you that your old weapon drops in effectiveness the moment you switch classes. The Emberville weapon upgrades guide has a full breakdown of the upgrade path, but the short version is: always budget shards for the weapon re-gear before you pull the trigger on a class change.
Armor Class Match-Ups
Armor classes follow the same tier logic as weapons, but the penalty curve is gentler because armor contributes defensive stats rather than combo progression. Still, running Tier 1 armor on a Tier 3 class leaves you with one-shot vulnerability against the deeper Vitromotus bosses, so the gearing tax applies on both ends.
| Armor Class Tier | Best Suited For | Defensive Penalty if Mismatched |
|---|---|---|
| Cloth (Tier 1) | Tier 1 classes, ranged casters | None at Tier 1, -20% block at Tier 2+ |
| Leather (Tier 2) | Tier 2 classes, dodge-focused builds | -10% dodge at Tier 3+ |
| Chain (Tier 3) | Tier 3 classes, frontline fighters | -15% block at Tier 4 |
| Plate (Tier 4) | Tier 4 classes, mastery tank builds | N/A — only available at Tier 4 |
A clean class change in Emberville is really a three-step transaction: pay the altar cost, refit your weapon to the matching tier, and re-equip armor that can survive the next dungeon. Skipping any of the three steps leaves your new class underperforming, and that is the most common reason players think the class change cost is broken when it is actually working as designed.
Planning Your First Real Class Change
A first Emberville class change that does not waste resources usually takes about 20 hours of preparation, which is longer than most new players expect. The altar will technically let you switch earlier, but switching before you have the right weapon and armor tiers in your stash means the change is functionally a downgrade.
A Sample Preparation Checklist
The checklist below is based on the route that community testing on the Early Access build has converged on. It assumes you are starting from a fresh save and want to land in a Tier 2 class by hour 25.
-
Clear the first three Vitromotus dungeons fully to bank Ember Shards
-
Push your starter class to Mastery Milestone 5 before visiting the altar
-
Complete the retrieval task for the Tier 2 class you want to switch into
-
Salvage or buy one Tier 2 weapon before triggering the swap
-
Keep at least 1,500 Ember Shards in reserve for the post-switch refit
-
Talk to the relevant Estate NPC after dusk to finish the unlock chain
Following this order keeps the real Emberville class change cost under control and prevents the most common mistake: switching classes first and then realizing you cannot afford the weapon that makes the new class functional. The class roles covered in the Emberville character creation overview are a good reference point if you are undecided on which Tier 2 class to aim for, because the early unlock quest chains differ enough to change which one you should prep first.
Where the Class Change Cost Lands in the Wider Progression Loop
The class change cost is not a one-time expense — it is a recurring investment that scales with how far you push into the Vitromotus. By the time you reach the mastery tier classes, you are paying roughly 28,000 Ember Shards per swap, which is more than most players earn in a full dungeon clear at that stage. That is why mastery players treat the class change cost as a long-term resource sink rather than a casual respec, and they plan their skill inheritance around the assumption that they will not switch often.
Community data suggests that the average mastery-tier player changes class two to three times per save file, compared to six to eight times during the early-game learning phase. The drop happens because the mastery system rewards specialization, and the higher cost per swap makes reckless experimentation too expensive. Treat your first three swaps as learning investments and your later swaps as build refinements, and the Emberville class change cost will feel like a fair progression gate rather than a wall.
Frequently Asked Questions
How much does it cost to change class in Emberville for the first time?
Your first class change costs 1,200 Ember Shards with no Mastery Token requirement, provided your starter class is at Mastery Milestone 1 or higher. The cost jumps to 4,500 Ember Shards and two Mastery Tokens for your second swap, so plan your first switch carefully.
Do I lose my mastery progress when I change class in Emberville?
No. Mastery milestones are stored per-class and remain banked even after you switch away. You keep all ten milestones on your starter class, which is why mastery is the most efficient way to unlock advanced classes later.
Can I switch into an advanced class without finishing the unlock quest chain?
No. The Emberville advanced classes require the silent unlock chain before the altar will accept the swap. You can have all the materials you want, but the swap will be rejected until the retrieval, trial, and NPC check are all complete.
What is the difference between weapon class and armor class in Emberville?
Weapon class determines your combo branch access and damage scaling, while armor class governs defensive stats like block and dodge. Both follow the same Tier 1 to Tier 4 ladder, and both need to match your character class to avoid penalties after a switch.
Is there a way to reduce the class change cost in Emberville?
Yes. The Estate has an upgrade that lowers the Ember Shard cost by 10% per level, capping at 30% reduction. Combine that with the Mastery Token boost you get from clearing harder dungeons, and the long-term Emberville class change cost drops noticeably for players who invest in the settlement.