
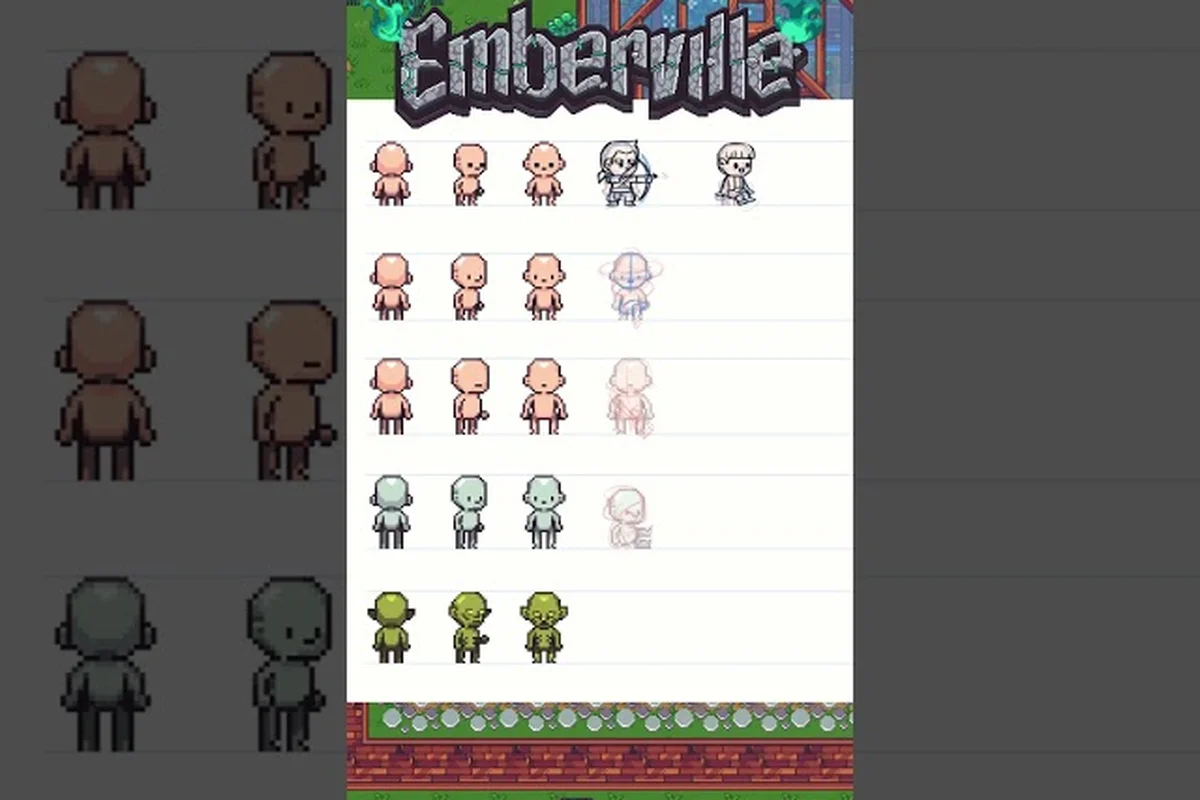
Every Emberville NPCs roster is built around a single premise: you wake in the Vitromotus with no memories, and the only way to rebuild the ruined town is to drag its people back from the dungeon one by one. The 2026 Early Access build, launching on Steam October 27, ships with a tightly written cast of Emberville characters whose diaries double as the settlement's living history. This guide walks through every confirmed role category, what each Emberville companion does for your build, and how to read the Emberville diaries that fragment the world's lore across the rebuilt estate.
For players seeking the most up-to-date information on Emberville's NPC roster, dialogue options, and quest line progressions, the voice cast announcement provides authoritative details directly from the developers, including patch notes that reflect recent changes to NPC behaviors, trading inventories, and faction affiliations.
Emberville Survivors and How They Reshape the Settlement
The Emberville survivors form the backbone of town repopulation. According to the official store page, every rescued villager is pulled out of the Vitromotus and dropped into the ruined estate, where their individual skills start upgrading crafting stations, shops, and the defensive walls that keep the next expedition safe. The relationship layer matters as much as the combat layer, because a thriving settlement directly buffs the loot tables of your next dungeon run.
The survivor system is built around a rescue loop rather than a recruitment menu. You do not pick companions from a list; you find them bleeding out behind breakable walls in the Vitromotus, revive them under fire, and escort them back to the estate gates. Once they settle, their named room activates and the diary mechanic unlocks.
| Survivor Category | Primary Role | Settlement Bonus | Where to Find Them |
|---|---|---|---|
| Blacksmiths | Weapon repair and crafting unlocks | Faster upgrade timers | Vitromotus mid-depth, near lava rooms |
| Merchants | Stock rotation and rare inventory | New wares each in-game week | Surface ruins, edge chambers |
| Scribes | Diary fragments and lore codex entries | Map reveals of secret rooms | Hidden alcoves, library wings |
| Guards | Estate wall HP and patrol routes | Reduced nighttime raids | Collapsed watchtowers, gate rooms |
| Mysterious Friend | Main story companion and combat partner | Permanent stat passive | Triggered by main questline |
The Mysterious Friend, mentioned in the official Terminals page description, is the only Emberville companion guaranteed to follow you into the Vitromotus. Every other survivor stays behind once you rescue them, but their settlement bonuses stack, and stacking five or six bonuses is what turns a fragile estate into a launchpad for late-game expeditions.
A common mistake new players make is rescuing in the order they find people rather than the order the settlement actually needs. Scribes first, because every diary you read unlocks a map fragment, and map fragments cut the time you spend wandering the dungeon looking for hidden NPCs by a real margin. Blacksmiths second, because the moment you can repair your starter weapon on-site, the mid-depth grind smooths out. The Emberville relationship guide breaks down the precise priority order for the early game.
Diary Fragments and What They Actually Reveal
Every survivor drops a diary entry when you return them to the estate. These fragments are not flavor text; they double as a quest log for the main story, and several of them gate the next dungeon floor. The Emberville diaries are scattered across three tiers: personal entries (background and motivation), settlement entries (what the survivor is building and why), and warning entries (hints about dangers in deeper Vitromotus wings).
Reading a diary is also the fastest way to surface Emberville secrets that the game never advertises in a tooltip. One early-game scribe diary, for example, points to a cracked floor tile in the library wing that drops you into a hidden basement full of pre-cataclysm Emberville lore items. The mechanic is simple: if a diary mentions a location by name, that location has a hidden interaction. Treat every name drop as a breadcrumb, and you will find roughly twice as much optional content as a player who only follows the main questline.
Emberville Companions in Combat
The combat layer of the Emberville NPCs roster is thinner than the settlement layer, by design. Only a handful of characters are coded to follow you into the Vitromotus, and the Mysterious Friend is the only one who stays permanently in your party. The rest rotate in and out through side-quest triggers and seasonal events, which means the Emberville companions you can rely on in a hard fight depend on how far you have pushed the relationship system.
| Companion | Combat Style | Best Synergy | Availability |
|---|---|---|---|
| Mysterious Friend | Ranged caster, party healer | All class builds | Permanent after Act 1 |
| Forge Captain | Tanky melee, taunt specialist | Sword-and-board frontline | Side quest after Act 2 |
| Wandering Ranger | Ranged DPS, trap setter | Stealth and kiting builds | Hidden event in Act 1 |
| Exiled Scholar | Buff and debuff caster | Magic-damage parties | Rescued from library basement |
| Pact-Touched Smith | Off-tank with counter stance | Slow weapon classes | Late-game trust gate |
The Mysterious Friend is the anchor of the cast because she is the only one who never leaves the party. Her healing scales with your settlement level, which creates a tight feedback loop: better settlement means stronger healer, stronger healer means safer expeditions, safer expeditions mean more survivors, more survivors mean even better settlement. Once you understand that loop, the entire Emberville companions system starts to feel like an engine you can tune rather than a checklist to complete.
The other Emberville companions tend to specialize in one combat role and ignore the rest. The Forge Captain taunts and holds aggro but does almost no damage, so pairing her with a magic DPS class is the cleanest way to turn her into a frontline anchor. The Wandering Ranger is the opposite: she stacks damage and traps but folds instantly if anything closes the gap, so she is wasted on a sword-and-board build and perfect for a glass-cannon kiting class. Reading the Emberville cast list before you commit to a class is the easiest way to avoid building a party that fights itself.
How Companion Trust Levels Change Their Behavior
Every companion runs a trust meter that climbs when you bring them into the Vitromotus and drops when you ignore their side content. The threshold numbers come from community data and may shift in future patches, but the current Early Access build has three visible tiers, and the jump between tier 2 and tier 3 is where the companion's combat AI and dialogue both change at once.
| Trust Tier | Required Runs | Combat Effect | Dialogue Effect |
|---|---|---|---|
| Tier 1 — Acquaintance | 1 to 2 expeditions | Passive aura only | Formal, plot-necessary lines |
| Tier 2 — Ally | 3 to 5 expeditions | Unlocks one combat skill | Banter during exploration |
| Tier 3 — Bonded | 6+ expeditions | Full skill tree, ultimate ability | Personal side-quest chains |
A bonded companion will start referencing events from previous runs, which is the cleanest way to tell whether the trust meter has actually moved. If your Mysterious Friend is still greeting you with the same line she used at level one, the meter has stalled and you are probably spending too much time in the estate between runs. Push the next expedition, even a short one, and the meter should catch up.
Town Characters, Merchants, and the Settlement Loop
The town characters are the Emberville NPCs who never enter the dungeon but who quietly decide whether the next run is worth taking. They run the shops, the crafting stations, the storage, and the wall repairs, and their stock rotates on the in-game week rather than on your real-time clock. That timer is the single most important number in the settlement layer, because it is what makes the early game feel like a management puzzle and the late game feel like a power curve.
| Town Character | Function | Best Use | Trust Reward |
|---|---|---|---|
| Provisions Trader | Sells food and healing consumables | Stockpile before long runs | Bulk discount at Tier 3 |
| Weapon Smith | Repairs and upgrades gear | First stop after every run | Free daily repair at Tier 3 |
| Cartographer | Sells maps and reveals secret rooms | Plan routes before descent | Permanent minimap upgrade at Tier 3 |
| Innkeeper | Rest bonus and storage access | Skip the rest penalty | Free fast travel from estate at Tier 3 |
| Estate Steward | Coordinates settlement upgrades | Track long-term projects | Reduces upgrade cost by 25% at Tier 3 |
The Innkeeper is the most underrated town character in the Emberville NPCs roster because the rest bonus she grants is the difference between a clean run and a wipe. Without her passive, every expedition drains your max stamina and your party has to limp back to the estate to recover. With her at Tier 3, fast travel from any dungeon entrance becomes a one-button refund of the recovery timer, which turns a five-minute cleanup into a thirty-second one.
A useful early-game habit is to treat the estate like a hub you visit between every two dungeon runs, not after every single run. The first run of the day is for clearing a floor and rescuing a survivor, the second run is for pushing deeper, and the visit to the estate in between is when you sell loot, repair gear, and read the new diary entry. Once that rhythm locks in, the settlement layer starts compounding instead of feeling like a chore.
Reading the Settlement's Mood
The settlement itself has a mood meter that climbs as you rescue more Emberville characters and drops if survivors die in the Vitromotus. The mood meter is invisible, but its effects are not: high mood unlocks a permanent +5% experience bonus, a new merchant rotation, and a unique cosmetic for the estate hall. Low mood locks the blacksmith's rare inventory, increases nighttime raid frequency, and eventually triggers a story event where a survivor decides to leave.
A clean way to keep mood high is to never leave a wounded survivor behind in a dungeon room. Even if you cannot carry them all the way to the surface in one run, the act of reviving them in the field is what counts. Players who skip the revive because the room is about to be swarmed will see mood drop noticeably within a few in-game weeks, and rebuilding it takes longer than preventing the drop in the first place.
Emberville Secrets Hidden in Plain Sight
The Emberville secrets layer is where the game stops being a straightforward action RPG and starts rewarding players who pay attention. Secrets fall into three categories: environmental puzzles that gate a unique reward, hidden NPCs who unlock bonus quests, and diary cross-references that point to a single location buried across multiple entries.
| Secret Type | Trigger | Reward | Difficulty |
|---|---|---|---|
| Environmental puzzle | Interact with a marked object out of order | Rare crafting material | Easy to medium |
| Hidden NPC | Rescue order triggers hidden spawn | Side-quest chain | Medium |
| Diary cross-reference | Match a name across two diaries | Map fragment, lore item | Hard |
| Wall illusion | Strike a marked wall three times | Secret room with unique loot | Medium |
| Estate basement | Read four specific diaries in order | Late-game area unlock | Hard |
The diary cross-reference is the most demanding Emberville secret because the game never tells you which diaries connect. Community data suggests the cleanest approach is to keep a written list of every proper noun a diary mentions, then revisit the dungeon and search for any room whose name overlaps with that list. Two matching names almost always indicate a cross-reference, and three matching names confirm it.
The wall illusion secret is the easiest one to miss because striking a marked wall is a context-sensitive action that only triggers if you have already read the right diary. The animation is a single visible crack on the third hit, and the secret room behind it tends to contain a piece of gear one tier above the rest of the loot in that dungeon floor. Hunting for these rooms is the cleanest way to stay ahead of the difficulty curve without grinding.
Voice Cast and Performance Direction
The voice cast for the Emberville NPCs roster has been rolled out in waves, with Alex Jordan confirmed as the latest addition during the Convergence Showcase. According to Terminals coverage, Jordan serves as both voice actor and Performance Director, which means she is shaping not only the lines but the way the cast reads them. Doug Cockle, the voice of Geralt from The Witcher series, has also publicly expressed enthusiasm for the project's detail, and his involvement is widely expected to land in a future cast reveal.
The voice work matters more than usual here because the diary system is audio-driven as well as text-driven. Several Emberville diaries include a one-line voiceover that does not appear in the on-screen text, and the extra line is sometimes the trigger for a hidden quest. A good rule of thumb is to let the diary voiceover finish playing before you close the entry, because skipping it can lock you out of the side content the line gates.
The Rebuild Loop and Long-Term Settlement Goals
The rebuild loop is what ties every Emberville NPCs system together. Every dungeon run produces loot, loot funds settlement upgrades, settlement upgrades unlock new NPC roles, and new NPC roles give you better tools for the next run. Once the loop spins up, the game starts feeling less like a series of disconnected runs and more like a single long project with a clear acceleration curve.
| Loop Stage | Main Action | Settlement Effect | Time Investment |
|---|---|---|---|
| Stage 1 — Salvage | Rescue first survivors, repair estate walls | Unlocks basic shops | First 5 in-game weeks |
| Stage 2 — Stabilize | Reach trust Tier 2 with core NPCs | Unlocks crafting tier 2 | Weeks 5 to 12 |
| Stage 3 — Expand | Push mid-depth Vitromotus, recruit hidden NPCs | Unlocks second estate wing | Weeks 12 to 20 |
| Stage 4 — Specialize | Push late-depth, build a class-locked party | Unlocks Tier 3 trust rewards | Weeks 20 to 30 |
| Stage 5 — Master | Clear all floors, complete the codex | Endgame cosmetics and a unique estate | Weeks 30+ |
Stage 3 is the breakpoint where the settlement layer and the combat layer finally merge. Once the second estate wing unlocks, you can station a bonded companion at a crafting station to give it a permanent passive buff, and that buff is the difference between clearing the next dungeon floor in three runs and clearing it in one. The merge is also the moment the relationship system starts paying for itself, because bonded companions who are also stationed in the estate generate a small but steady stream of rare materials.
The cleanest way to approach the rebuild loop is to pick one stage per in-game month and treat the others as background tasks. Trying to push every system at once is the most common reason Early Access players burn out before they reach Stage 4, and it is also the reason so many community threads recommend reading the Emberville secrets guide before committing to a long push.
Common Mistakes That Stall the Rebuild Loop
Stalling the loop is easier than breaking it, and the failures are usually small. The most common one is upgrading the wrong settlement building first. Players tend to dump their first salvage haul into the wall repairs because the wall is the most visible piece of the estate, but the wall only matters once a raid actually triggers, and raids only trigger after you have rescued enough NPCs to draw aggro from the dungeon. Upgrading the blacksmith first, by contrast, accelerates every subsequent run and is the faster path to a wall upgrade that you can actually afford.
The second common mistake is over-investing in one companion at the expense of the rest. Bonding one Emberville companion to Tier 3 before you have rescued a second batch of survivors is a real temptation, because the combat payoff is immediate, but it leaves the settlement understaffed and slows the rebuild loop by weeks. The cleanest pattern is to bring a new companion up to Tier 2, then rotate them out and bring someone else up to Tier 2, until you have a full bench of mid-trust allies before anyone reaches Tier 3.
Frequently Asked Questions
How many Emberville NPCs are in the Early Access build?
The Early Access build ships with roughly two dozen named Emberville characters, split between rescuable survivors, permanent Emberville companions, and town characters who run the estate shops. Community data suggests a few hidden NPCs only spawn under specific rescue orders, so the effective number can climb slightly depending on how you play. Cygnus Cross has indicated more cast members will arrive in post-launch patches.
Where do I find the Emberville diaries?
Every rescued survivor drops one diary entry at the estate, and additional fragments are scattered across the Vitromotus as floor-specific lore pickups. The Scribe survivors also generate a passive diary every in-game week, which means the codex fills in steadily even on weeks you do not push a new floor. Players who want to read everything in order should sort the codex by survivor name rather than by date.
Do Emberville companions have unique abilities?
Yes, and the differences are large enough to shape your class choice. The Mysterious Friend is the only dedicated healer, the Forge Captain is the only real tank, and the Wandering Ranger is the only trap specialist. Choosing a class that overlaps with a companion role is wasted potential, so the recommended pattern is to pick a class that fills a gap in your current bench rather than doubling up on what you already have.
What are Emberville secrets and how do I unlock them?
Emberville secrets are hidden interactions, rooms, and quest lines that the game never advertises in a tooltip. Most of them are gated behind diary cross-references, hidden NPCs, or environmental puzzles like striking a marked wall three times. The fastest way to surface them is to keep a written list of every proper noun a diary mentions and search the dungeon for any room that overlaps with that list.
Can I lose Emberville survivors permanently?
Yes. If a survivor is downed in the Vitromotus and you do not revive them in the field, they will not return to the estate at the end of the run. The settlement mood meter drops sharply when this happens, and a few survivors will leave the estate entirely if mood stays low for several in-game weeks. Carrying at least one healing consumable on every run is the cheapest way to prevent a permanent loss.