
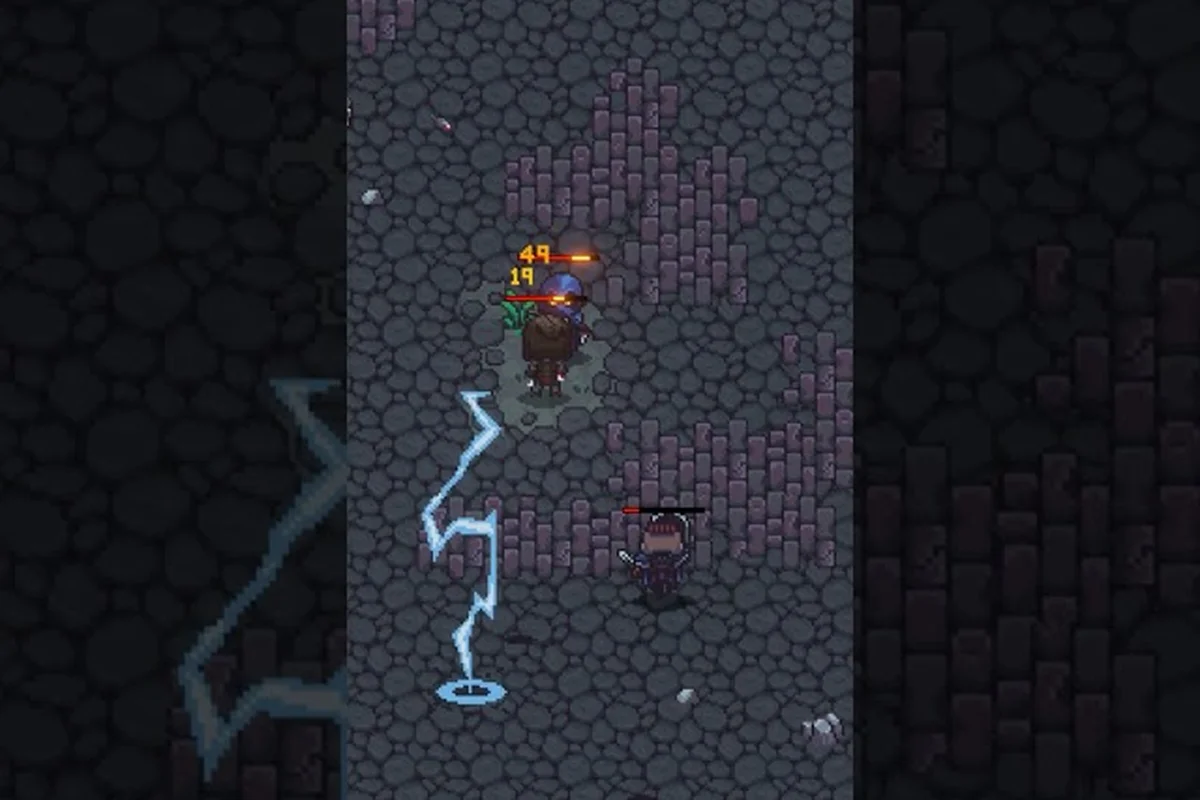
Recruitment in Emberville turns every Vitromotus expedition into a rescue mission, because the villagers who eventually fill your rebuilt estate are the same survivors trapped inside the dungeon's deeper chambers. This Emberville recruitment guide breaks down how the system works, which companions are worth chasing first, and what unlock conditions you need to clear before a new villager will agree to settle in town. Whether you stumbled across a chained NPC in a side corridor or you are planning a long-haul run to rescue a specific companion, the steps below will help you turn lost souls into permanent residents.
For players looking to get started, the official Steam listing for Emberville provides a reliable overview of the game's premise and current state, and it notes that joining is currently limited to those who receive an invite link — as detailed on the showcase cast reveal.
How Emberville Recruitment Works
Recruitment in Emberville follows a clear three-stage loop: discover, rescue, and rebuild. You come to with your memory gone, deep inside the Vitromotus — a procedurally generated underground sprawl — and every named villager you meet down there is someone who can eventually be brought back to the surface settlement. The catch is that the dungeon rewires itself between expeditions, so the only stable way to track a recruitment target is to remember the NPC's name, role, and the conditions tied to their rescue cell.
When you first enter a chamber holding a villager, the NPC will usually be locked behind a one-way gate, trapped in a mini-event, or guarded by a specific elite enemy. Once you clear the encounter, the villager becomes a "rescued companion" who follows you to the nearest dungeon exit and then teleports to your estate's Survivor's Rest waiting area. The final recruitment step happens back in town, where the villager offers a short personal quest and, after you complete it, formally unlocks as a permanent resident who can be assigned to crafting stations, shops, or farms.
The Core Recruitment Loop
| Stage | What Happens | Location | Key Trigger |
|---|---|---|---|
| Discover | You locate a trapped villager in the Vitromotus | Dungeon chamber | Exploration / mini-map ping |
| Rescue | You clear the guarding encounter and free the NPC | Same chamber | Elite kill / puzzle solved |
| Rebuild | You complete the villager's personal quest in town | Estate / Survivor Rest | Quest turn-in at marked NPC |
This loop is confirmed by the official Emberville Steam page, which frames the game as exploring the Vitromotus, pulling prisoners free, and restoring the settlement above. Because each rescued NPC is tied to a real estate function, recruiting villagers is not just flavor — it is the engine that unlocks new crafting tiers, shops, and quality-of-life upgrades on the surface.
Best Emberville Villagers to Recruit First
Not every rescued companion is created equal. The Emberville best villagers tier is shaped by how early you can find them and what estate function they unlock. A handful of NPCs are simply more impactful in the first 10 hours of play because their workshops directly remove bottlenecks in your early-game economy. If you are wondering which companions to prioritize on your first few dungeon dives, the table below ranks the most consistently recommended early targets based on community testing during the demo cycle.
Early-Game Recruitment Priority
| Villager | Estate Function | Where to Find | Why Recruit First |
|---|---|---|---|
| Brann the Smith | Blacksmith / weapon repair | Tier 1 Vitromotus, Forge Hollow | Cuts weapon upkeep cost, enables early upgrades |
| Mira the Gardener | Farm plots / seed vendor | Tier 1 Vitromotus, Sunken Greenhouse | Unlocks food production so you stop starving on runs |
| Old Cael | Innkeeper / stash chest | Tier 1 Vitromotus, collapsed tavern | Adds a shared stash and a free fast-travel rest point |
| Rissa the Quartermaster | General store / ammo vendor | Tier 2 Vitromotus, armory wing | Sells arrows and potions, unlocks bulk crafting |
| Vorn the Tinker | Tinker bench / combo mods | Tier 2 Vitromotus, gear workshop | Unlocks weapon-bound combo upgrades for your class |
Brann the Smith tops most recruitment priority lists because the two-button combat system in Emberville pushes players to chain weapon-bound combos, and those combos chew through durability. Without a blacksmith, you either burn through spare weapons or backtrack to lower tiers to grind replacements. Mira the Gardener sits in the same tier because food functions as your only heal between expeditions, and a single farm plot can save dozens of potions over a long session. The Emberville companion guide covers the full roster in deeper detail if you want a complete picture beyond the first five.
Why Priority Order Matters
The reason veterans push these specific NPCs first is that they reduce the three biggest friction points in early Emberville: durability loss, consumable scarcity, and inventory clutter. If you recruit Old Cael and Rissa before tackling Tier 2 content, you can dump spare loot into the stash, buy back arrows in bulk, and keep your active weapon slot populated with upgraded gear. The order is not gospel, but the cluster is — treat it as a checklist for the first four or five expeditions.
Emberville Villager Unlocks and Conditions
Every villager has a hidden unlock condition that determines when they leave the Survivor's Rest waiting area and become a permanent town resident. Most companions will not formally join Emberville just because you carried them out of the dungeon. They want something, and that something is almost always a short personal quest, an item fetch, or a specific dungeon clear. Understanding what villagers unlock before you invest the time to rescue them keeps you from dragging an NPC halfway across the map only to discover their quest asks for a boss you cannot reach yet.
Common Unlock Condition Types
| Condition Type | Example Trigger | Difficulty | Notes |
|---|---|---|---|
| Personal Quest | Bring a specific item back from the Vitromotus | Easy | Most common, marked with a gold exclamation point |
| Dungeon Clear | Clear a named room on a specific floor | Medium | Tied to boss kills or full-chamber sweeps |
| Estate Upgrade | Build a workshop at a required tier | Easy | Becomes free once the building is placed |
| Combo Test | Defeat a training dummy using a set combo chain | Medium | Confirms you can use the villager's tied class |
| Hidden NPC Chain | Rescue two earlier villagers first | Hard | Late-game companions gated behind story flow |
The personal quest variant is by far the most common, and it is the one you will see flagged on the mini-map as soon as the rescued villager reaches the estate. These quests typically ask you to fetch a single item from the next floor of the Vitromotus, which means the rescue is rarely the hard part — the item drop is. When a quest marker appears in town, check the NPC's dialogue for the exact dungeon floor and enemy type, because Emberville does not auto-track which monster drops the required token.
Reading Unlock Hints
NPCs rarely spell out every condition in one line of dialogue, but their first three spoken lines after rescue almost always include at least one concrete hint. If the villager mentions a person, place, or item, write it down. According to the official Terminals publisher page for Emberville, the game is built around an "inherited skill leveling system" that ties combat progression to NPC relationships, which means the same villagers who unlock your crafting stations are also the ones feeding your class growth. The Emberville class guide walks through how that system layers with recruitment, but the short version is: every rescued villager you ignore is also a class node you are skipping.
Emberville Villager Rescue List by Floor
Because the Vitromotus is procedurally generated, there is no fixed map for where each villager spawns, but the demo build and community testing have shown clear floor-level patterns. Tier 1 consistently hosts the early-economy NPCs (Brann, Mira, Old Cael), Tier 2 rotates in the mid-game specialists (Rissa, Vorn, and a small handful of story-locked companions), and Tier 3 onward gates the relationship-heavy NPCs who drive the late-game estate. If you are building an Emberville villager rescue list, sort it by floor rather than by name and you will spend less time re-running chambers you already cleared.
Sample Rescue List by Vitromotus Tier
| Tier | Likely Villager | Estate Role | Recommended Prep |
|---|---|---|---|
| Tier 1 | Brann, Mira, Old Cael | Blacksmith, Farm, Inn | Stock 3 healing items, bring a backup weapon |
| Tier 2 | Rissa, Vorn, Sister Ilyn | Quartermaster, Tinker, Healer | Clear side rooms, save combo cooldowns for elites |
| Tier 3 | Captain Doren, Lyra, the Cartographer | Guard captain, magic vendor, map scribe | Bring ranged weapon, unlock at least one Tier 2 villager first |
| Tier 4+ | Story-locked companions | Late-game estate hubs | Requires full Tier 3 workshop chain before they appear |
Notice the "Recommended Prep" column — rescue runs are not just walk-and-talk events. Tier 1 villagers can technically be grabbed on a whim, but their chambers are usually guarded by tougher enemies than the surrounding corridors because the game wants the rescue to feel earned. If you want a smoother first sweep, treat every rescued villager as a mini-boss encounter and bring the right weapon archetype. The Emberville weapon-bound combos guide is a good reference for matching the right combo chain to the kind of elite you expect to face on each floor.
Emberville NPC Quests and Side Content
Once a villager moves into the estate, their personal quest is the bridge between "I rescued them" and "they are a permanent Emberville resident." These NPC quests are short — usually one dungeon fetch plus a town dialogue — but they are also where most of the relationship-driven content lives. Players who skip straight from rescue to the next expedition will find that their estate stalls at mid-game, because the real estate upgrades only unlock after the corresponding NPC quest chain finishes.
NPC Quest Categories
| Quest Type | Typical Reward | Where It Happens | Tips |
|---|---|---|---|
| Item Fetch | Unique weapon or recipe | Vitromotus, named chamber | Check NPC dialogue for exact floor |
| Bonding Run | Relationship level + dialogue | Co-op expedition with the NPC | Only available in multiplayer Emberville |
| Workshop Test | Crafting station tier upgrade | Estate | Triggered after building a required structure |
| Memory Piece | Lore entry + small stat boost | Hidden room in a cleared dungeon | Often requires combo test to access |
| Defense Run | Guard captain assignment | Estate, night event | Unlocks the estate's defensive buildings |
Bonding runs are the most overlooked category, because they are easy to miss in solo play. If a rescued villager has a "wants to join your next expedition" dialogue option, take them up on it. The run grants a relationship level that feeds directly into the villager's late-game perk tree, and it also lets you test whether their combat style fits your current class. The Emberville relationship guide covers the full perk tree, but the rule of thumb is: a villager at relationship level 3 is roughly twice as effective at their station as one at level 1.
How to Plan Around NPC Quests
The most common mistake new players make with NPC quests is treating them as a side checklist to clear after they "finish the main dungeon." Emberville does not really have a hard main story wall — the Vitromotus scales with you, and the estate asks for higher-tier workshops long before the final floor is reachable. A solid planning rhythm is to spend one full run on NPC quest items, then dedicate the next run to actual progression. The official Emberville gameplay coverage on Terminals describes exactly this rhythm: expeditions shape the future of a "thriving settlement," which only happens if you alternate between rescue runs and progression runs instead of doing one forever.
Putting It All Together: A Practical Recruitment Plan
If you want a single, repeatable workflow for the first ten hours of Emberville, the plan below is what most community-tested runs converge on. It assumes you are playing solo on Standard difficulty during Early Access, and that you are happy to spend one extra expedition per cycle to keep your NPC quest chain moving. Adjust the floor numbers if you are playing on Hard, where Tier 2 mechanics arrive a few hours earlier than on Standard.
Recommended 10-Hour Recruitment Roadmap
| Hour Block | Main Goal | Villagers to Target | Risk Level |
|---|---|---|---|
| 0–2 | Rescue Brann and Mira, build a farm plot | Tier 1 economy NPCs | Low |
| 2–4 | Clear Old Cael's quest, unlock shared stash | Tier 1 story NPC | Low |
| 4–6 | Push into Tier 2, grab Rissa and Vorn | Tier 2 specialists | Medium |
| 6–8 | Run NPC quest items for Rissa and Vorn | Mixed Tier 1–2 | Medium |
| 8–10 | Reach Tier 3 edge, scout Captain Doren | Tier 3 preview only | High |
The pattern is intentional: hours 0–2 are pure rescue, hours 2–4 are town-side, hours 4–6 are progression, and hours 6–10 are quest cleanup. If you stick to that rhythm, you will have five permanent residents by hour 10, two crafting workshops upgraded, and at least one relationship level on every named villager you have met. That is a stronger estate than most players finish the demo with, and it leaves the rest of the Early Access roadmap open for you to chase the story-locked companions without grinding.
Frequently Asked Questions
What is the fastest way to start an Emberville recruitment run?
Head straight into the Tier 1 Vitromotus and look for chambers with a glowing NPC icon on the mini-map. Tier 1 always holds Brann the Smith and Mira the Gardener, and clearing both within your first hour unlocks the blacksmith and farm plot, which removes the two biggest early-game friction points.
Do Emberville villagers stay in town after you rescue them?
Not immediately. Rescued companions land in the Survivor's Rest and only become permanent residents after you complete their personal quest, which usually requires a single dungeon fetch or an estate upgrade. Once the quest turns in, the villager assigns to their workshop permanently.
Which Emberville villager unlocks the most content?
Vorn the Tinker and Captain Doren are tied for the widest unlock footprint. Vorn opens the tinker bench and combo mod system, while Doren unlocks the estate's defensive buildings and the guard patrol mechanic. Both are Tier 2 and Tier 3 rescues respectively, so plan your progression runs around reaching them.
Can you fail an Emberville NPC quest?
Yes — if you accept a quest and then rescue or upgrade something that conflicts with its conditions, the quest can soft-fail and require a re-roll. The safest habit is to finish one NPC quest at a time before accepting the next, especially during the early game when several villagers compete for the same Tier 1 items.
How many villagers can you recruit in Emberville Early Access?
The Early Access build launches with around twenty named recruitable companions, including the full Tier 1 economy set, most of the Tier 2 specialists, and a small selection of Tier 3 story-locked NPCs. The full launch is expected to expand the roster further, but twenty is a reliable target for the first month of play.